
How to connect a UTP cable yourself without making mistakes
- , by Jarno Heideman
- 5 min reading time

In just a few simple steps you can connect your UTP cable to an RJ45 connector; Making your own network cable has never been easier! Read on to find out how you too can do this.
Products that belong to this article:
[button] Network cable on roll [/button][button] RJ45 Connectors [/button][button] Crimping pliers [/button]
For making cat5e, cat6 and cat6a cables
In this how-to you will easily learn to connect a UTP cable to an RJ45 connector. This is how you make your own network cable; Making a UTP cable has never been easier!
Would you like to learn how to connect a UTP cable to a wall socket? Then read our article Connecting a UTP wall socket: how do you do that? .
What do you need?
Before we start, we list everything you need to make your own UTP cable:
- Network cable from the roll
- RJ45 Connector (choose a connector that matches the cable)
- RJ45 crimping tool or professional network toolset with everything you need
Purchase everything immediately via our shop:
Connect a UTP cable in 5 easy steps
So it is really not difficult to make a network cable yourself. With the right tools (see above) you can be done in 5-10 minutes. Here we go!
Step 1: Strip the outer sheathing

Here the outer sheath is stripped
First strip away the outer sheath, so that you can see the 8 wires (4 pairs of wires). To do this, use the cable stripper on the crimping pliers. We recommend stripping away about 5 cm of the outer sheathing.
Step 2: put the colors in the correct order

Here the colors are placed in the correct order
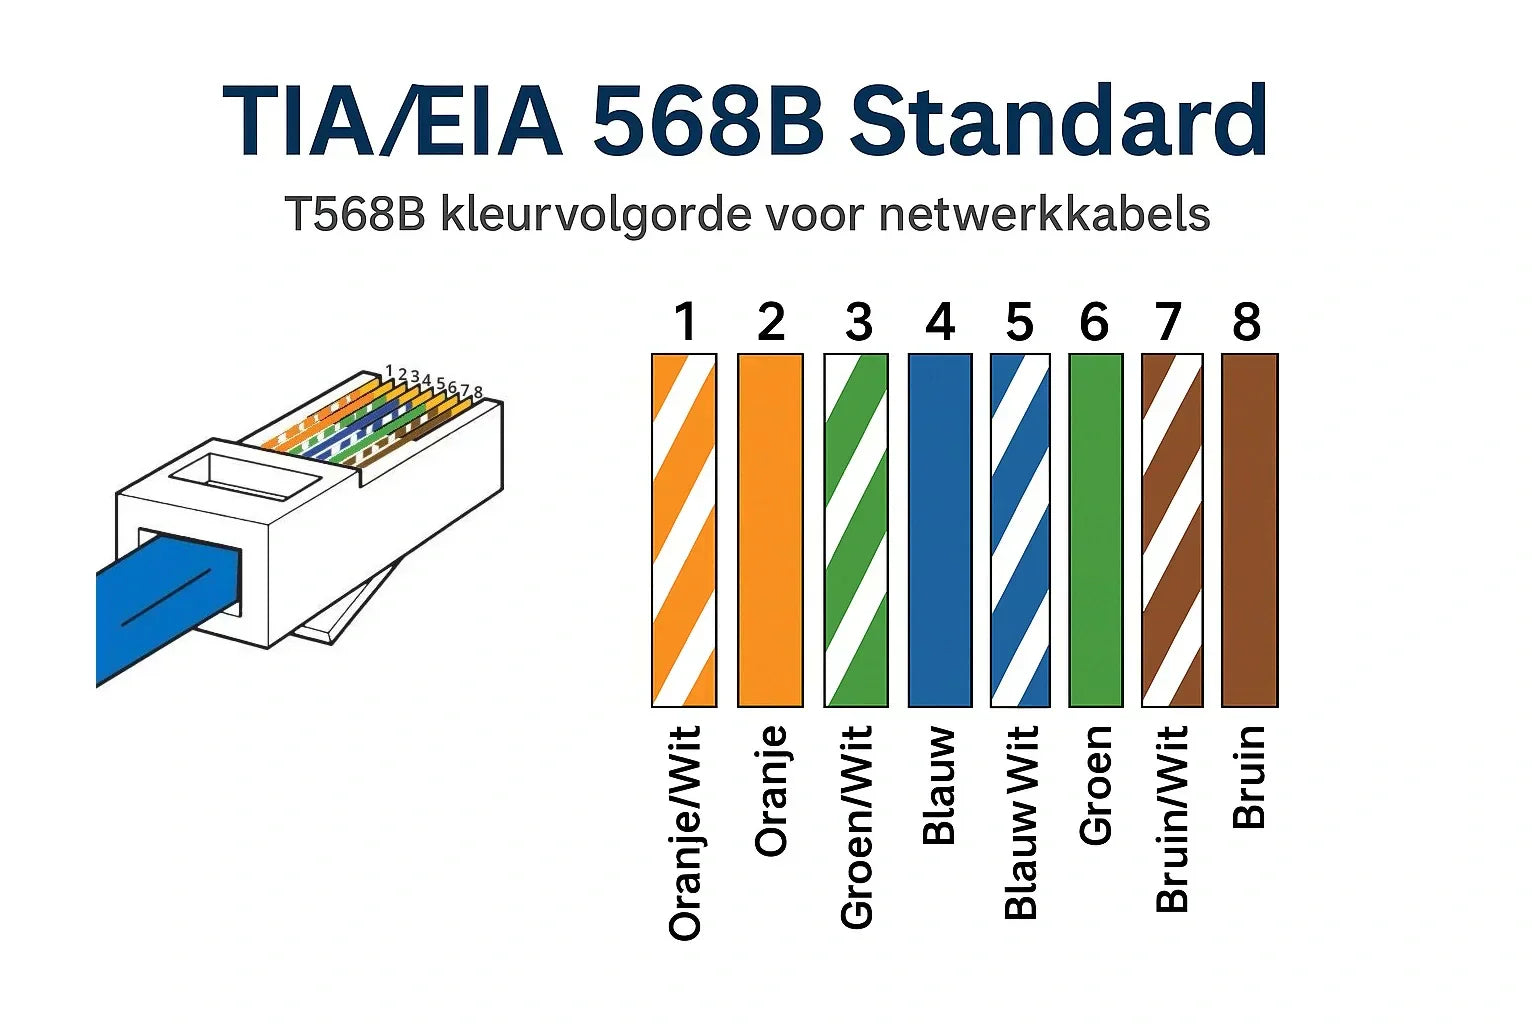
You now see 8 wires, each with its own color. They may still be a bit contentious; then separate the wires. The order of these threads is, of course, very important. So make sure you follow the correct order.
UTP cable color order
From left to right:
- Orange-white
- Orange
- Green-white
- Blue
- Blue White
- Green
- Brown White
- Brown
Step 3: cut the 8 veins to equal lengths [optional]

This is a photo of a special Pass-through connector . If you don't have one, first cut the 8 wires to the correct size and then insert them into the connector.
There is a cutting blade on the crimping pliers (if you have a good one). Cut so that the veins are approximately 1.5 cm long. You don't have to strip the 8 wires yourself!
Please note: this step is only necessary if you do not have a Pass-through connector.
Step 4: place the 8 wires in the connector
Now you can neatly place the wires (with color sheathing) in the RJ45 connector. Make sure they remain next to each other in the correct color order. Now slide the wires into the connector as follows:
- Hold the cable so that the orange-white wire is on the left and the brown wire is on the right
- Hold the RJ45 connector with the tab facing down
- Hold the end of the connector away from you (so you insert the cable into the connector on 'your' side)
- Insert the wires into the connector
Look carefully through the transparent piece in the connector to see if all the wires are properly seated.
Step 5: attach the wires with the crimping pliers

Now hold the network cable and connector firmly in place and bring it to the crimping tool. Just squeeze well and it's stuck; you connected a network cable yourself!
Good to know: it doesn't matter whether you have a Cat5e, Cat6(a), Cat7(a) or Cat8 cable: connecting the network cable works exactly the same.
Best practices for connecting network cables
Making a UTP cable is really not that complicated. We will give you a number of tips to ensure that your home-made internet cable performs best.
- Do it right right away and choose a Cat6 cable from the roll : this way you are prepared for the future. If you choose Cat6 S/FTP (with double shielding), you will also prevent disruptions and be completely safe.
- Choose the network connector that matches the cable you buy (so if you buy a Cat6 cable: also buy Cat6 connectors). Also make sure that the AWG value of the cable matches the connector.
- Never use cables longer than 100m. Are you doing this? then you will almost certainly experience data loss.
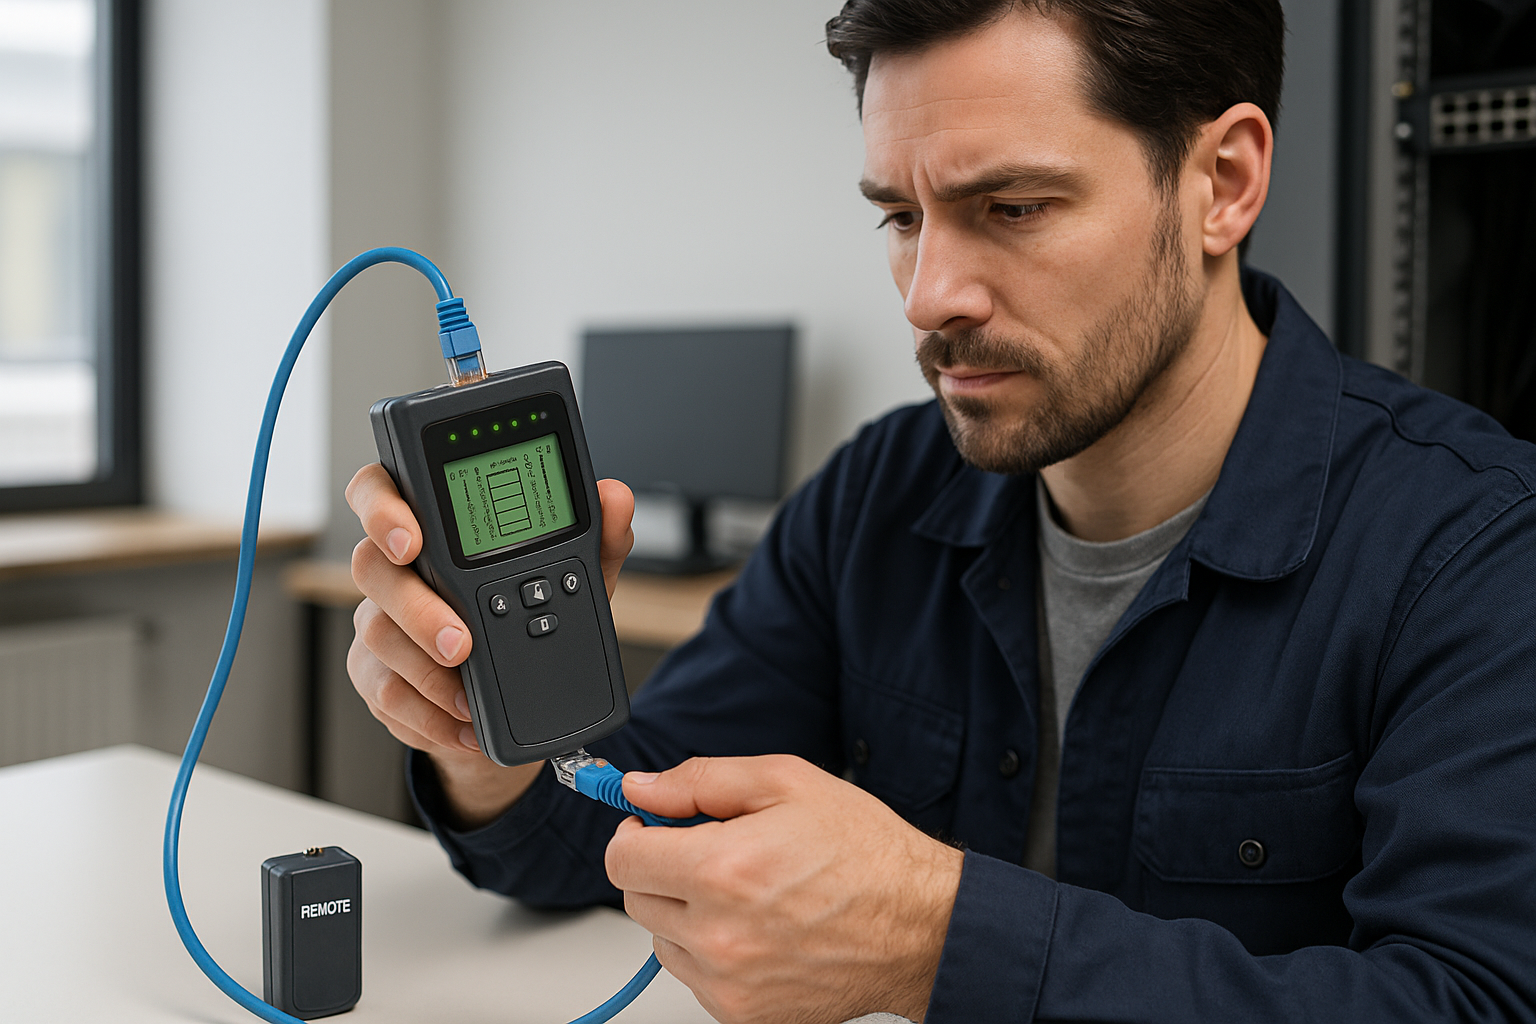
- Use a cable tester to test whether the cable is working properly. If you have one of our network toolsets , it includes a cable tester!
Would you rather have a cable with a connection? Buy ready-made internet cables with RJ45 connectors in our webshop.
Buy all the products you need directly in our shop:
[button] Network cable on roll [/button]
[button] RJ45 Connectors [/button]
[button] Crimping pliers [/button]
Other relevant articles
Tags


Bekijk onze andere blogs
-
, by Jarno Heideman How do you easily set up a home network yourself?
-
, by Jarno Heideman What are the color codes of UTP cables and how do you use them correctly?
-
, by Jarno Heideman How do you test a UTP cable without making mistakes?
-
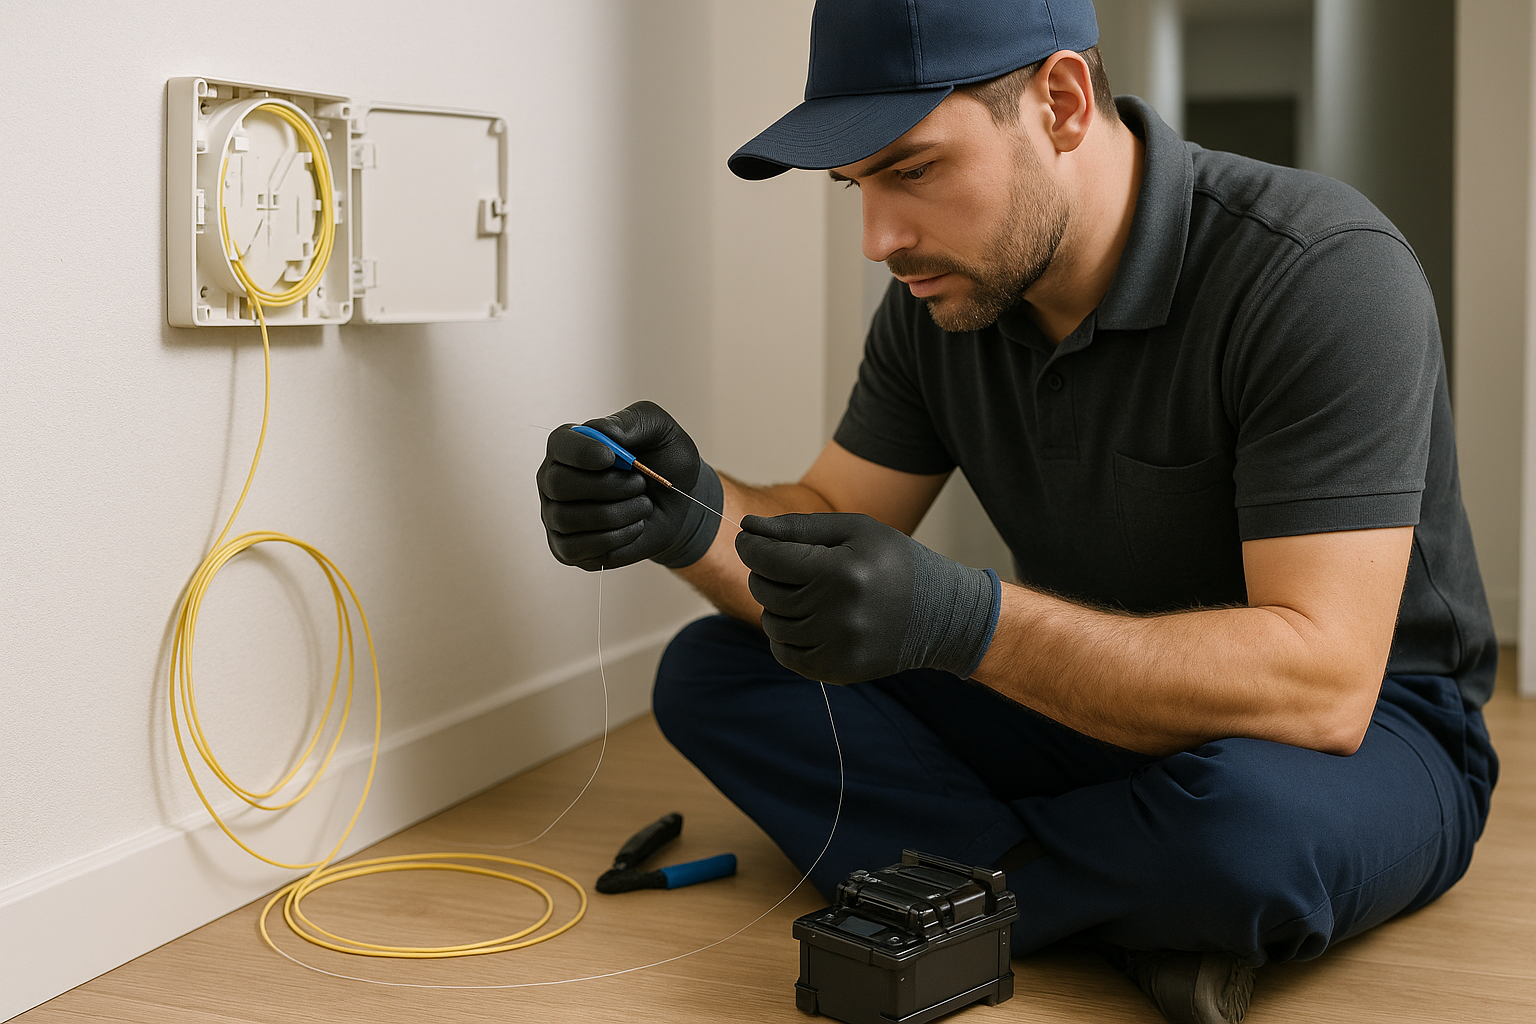
, by Jarno Heideman How do you connect fiber optic yourself without any hassle at home?


