
How do you easily set up a home network yourself?
- , by Jarno Heideman
- 6 min reading time

How to easily set up a home network yourself
A well-functioning home network is no longer an unnecessary luxury. Think of working from home without disruptions, smooth streaming or carefree gaming. In this article you can read how to set up a reliable network step by step with practical tips and smart choices. This way you can arrange speed, range and security exactly as you want.
Why building your own network is a smart choice
With your own network, you are in control. You decide where you need internet and what equipment you use. A network cable often provides a more stable and faster connection than WiFi. This makes a big difference, especially with intensive use. Think of video conferencing, making backups or online gaming.
A fixed setup gives peace of mind. You know what you have and avoid surprises due to malfunctions or signal loss.
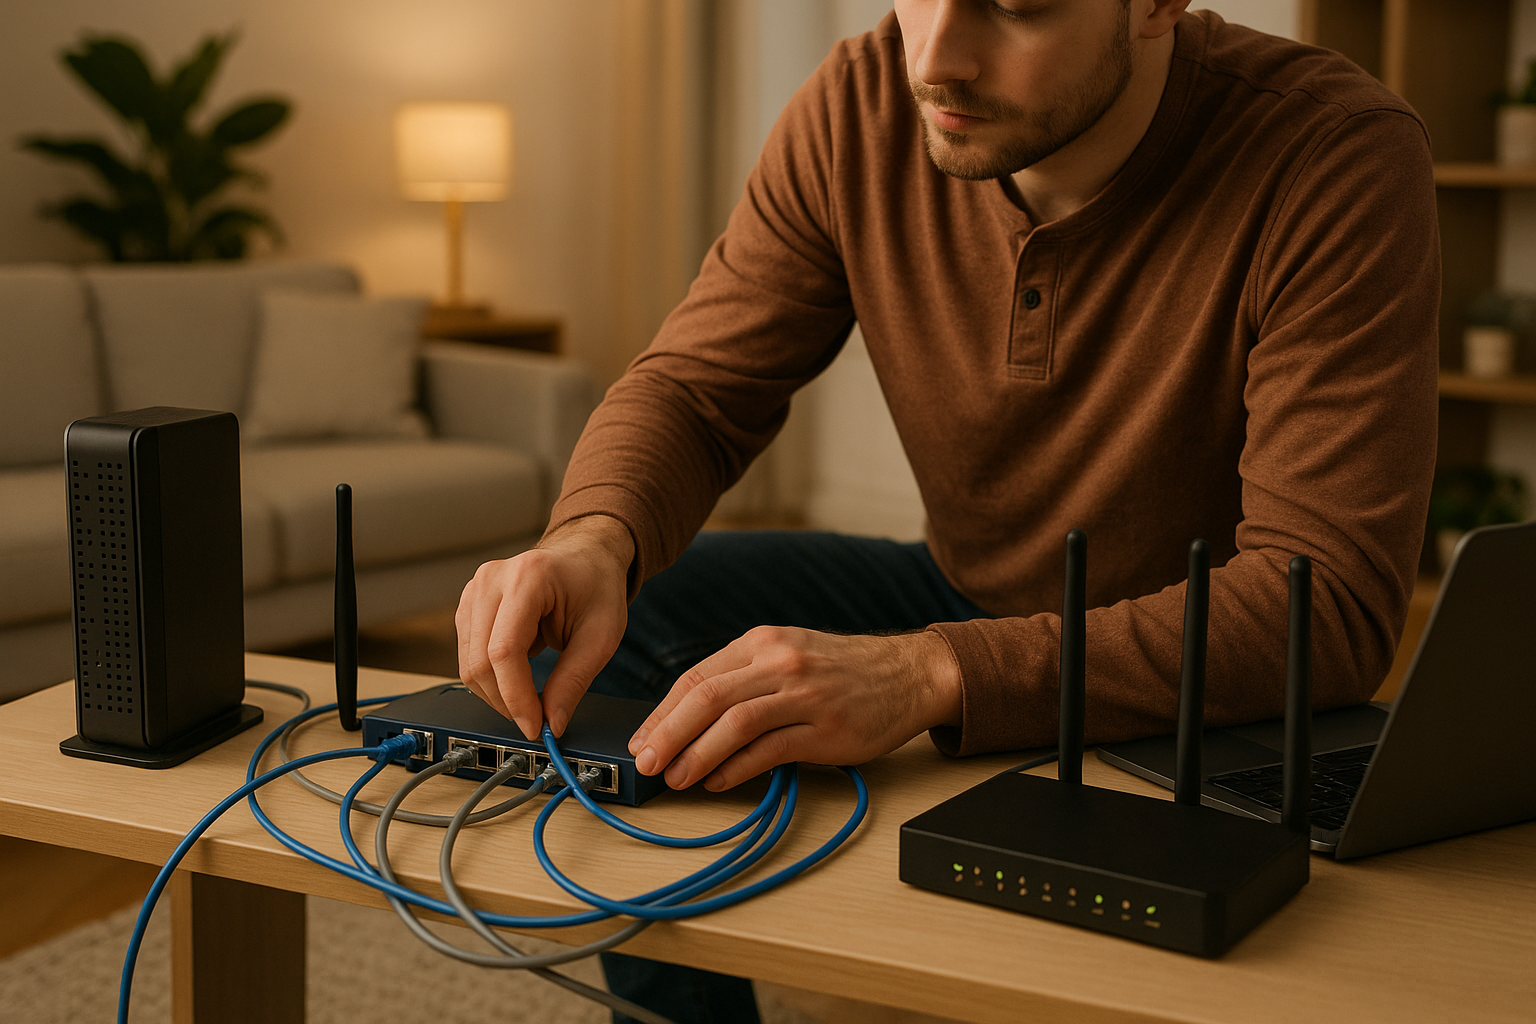
What you need for a strong network
A reliable network starts with the right foundation. These are the most important components:
-
Router for the internet connection
-
Switch to connect multiple devices via cable
-
Network cables such as Cat6 or Cat6a for high speed
-
Access points to distribute wireless internet everywhere
Additional options include wall sockets with network connection and cable ducts to finish everything neatly.
A good plan is the first step
Draw your home and determine where you need internet. Think of workstations, the living room or bedrooms. Decide per room whether you want to use a cable or wifi. For heavy use, a wired connection is the most reliable. Wifi is ideal for mobile devices or general access.
Consider how best to run cables and where to place access points for optimal range.
You can download our free floor plan template for a quick overview.
Set up a reliable home network in seven steps
If you want to get started right away, you can use this step-by-step plan:
-
Determine the desired connection points
Note which rooms you want to provide with internet access and how intensively they are used. -
Choose between wired and wireless
Use network cables for fixed workstations and WiFi for flexibility. -
Assemble the equipment
Choose a router, switch and access points that suit your situation and network usage. -
Design the cable route
Measure where the cables need to run and determine how to conceal them. -
Lay the cables and finish them neatly
Use existing pipes or cable trays. Label cables for clarity. -
Configure the network
Set IP addresses and DHCP. Make sure all devices communicate well with each other. -
Check and secure the connections
Test the speed and ensure good security, for example with WPA3 and a guest network.
Hide network cables without hassle
A good network is not only fast but also neat. Lay cables via existing pipes or use cable ducts. Never leave them taut and avoid sharp bends. Mount contact points where necessary and label each cable so you know where it goes. Use a reel or roll to work to size.
Configure your router and switch to your needs
Your router is the foundation of your network. Set a fixed range of IP addresses and enable DHCP so that devices automatically receive an address. If you want more control, you can assign certain addresses. Connect the switch to your router and connect the devices. Make sure it supports gigabit speeds.
Setting up a wireless network with optimal range
Wi-Fi works best when you place the equipment well. Place your router in the center of your home, not too close to walls or metal objects. Choose a network name that you recognize and select a quiet Wi-Fi channel. In larger homes, multiple access points are useful. With a mesh network, they work together and you have coverage everywhere.
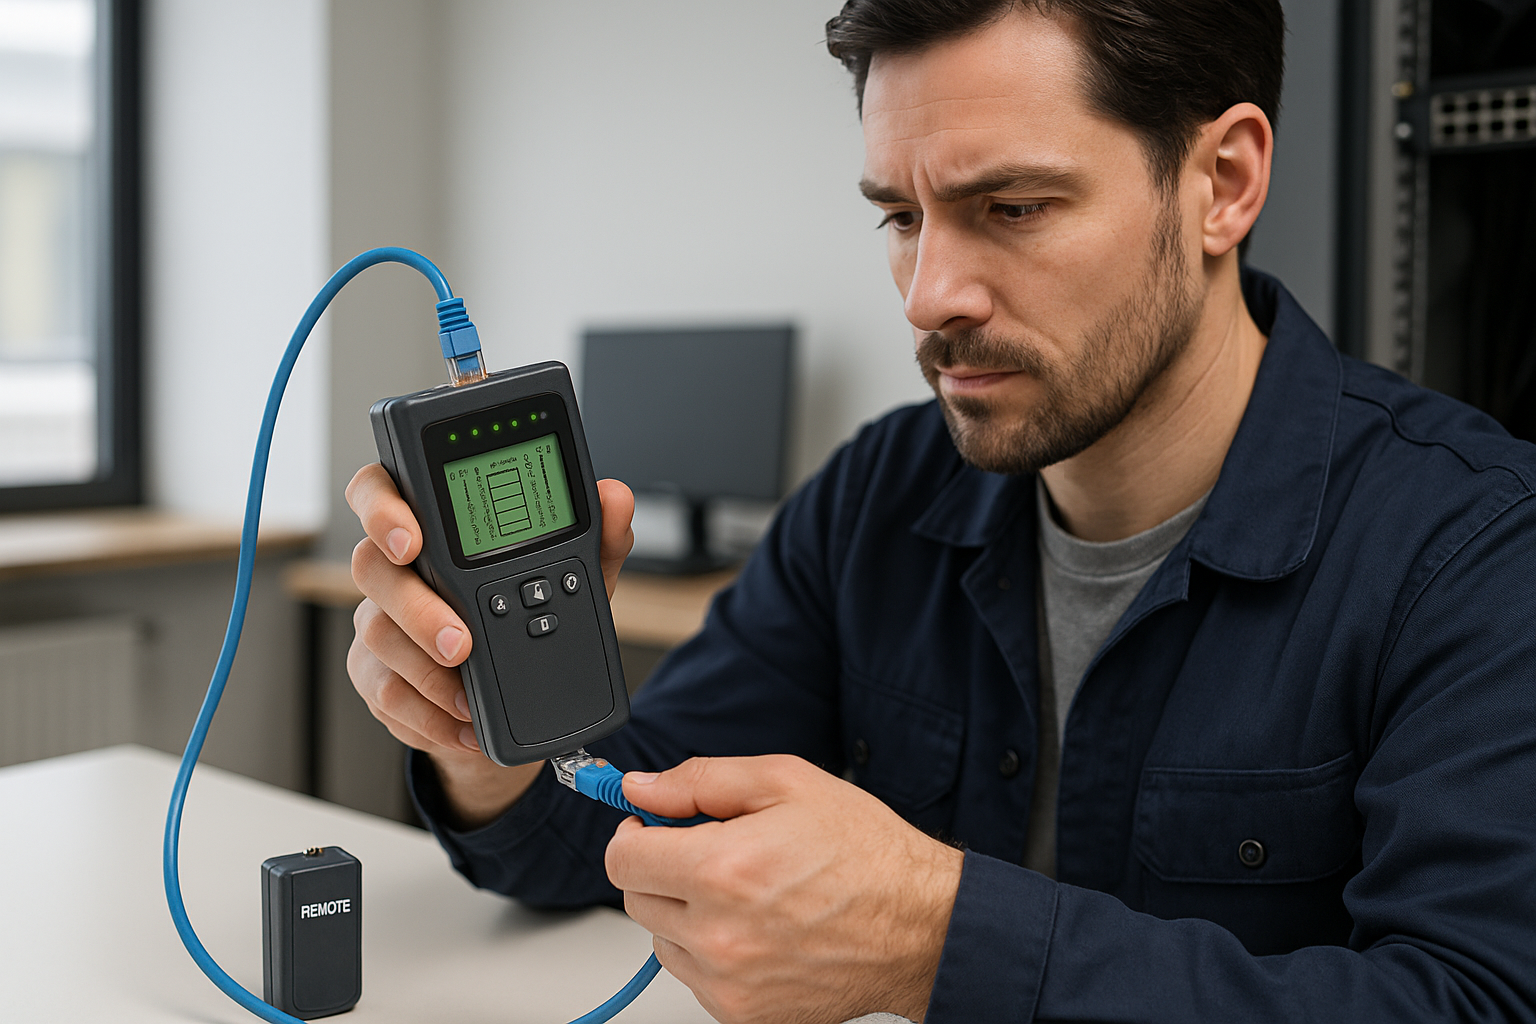
Test everything and secure it properly
Use a speed test and Wi-Fi analyzer to see where your coverage is good and where it isn’t. Make sure your passwords are strong and enable WPA3 security. Create a separate guest network for visitors so your main network stays private. For extra security, you can use a firewall or VPN.
Common mistakes when setting up a network
When installing a network yourself, you often see the same errors. Here are a few to look out for:
-
Multiple devices providing DHCP
-
Use of outdated or damaged cables
-
Access points in places with a lot of interference
-
Equipment with old firmware
After you're done, check all settings and test each connection to make sure everything is working as it should.
Practical tips per type of home
Not every house requires the same approach. These are useful starting points per house type:
-
One-story apartment usually requires only one access point
-
Terraced house works best with access points per floor
-
Detached homes benefit from a combination of cable and multiple WiFi points
Test in advance where you need coverage and adjust your equipment accordingly.
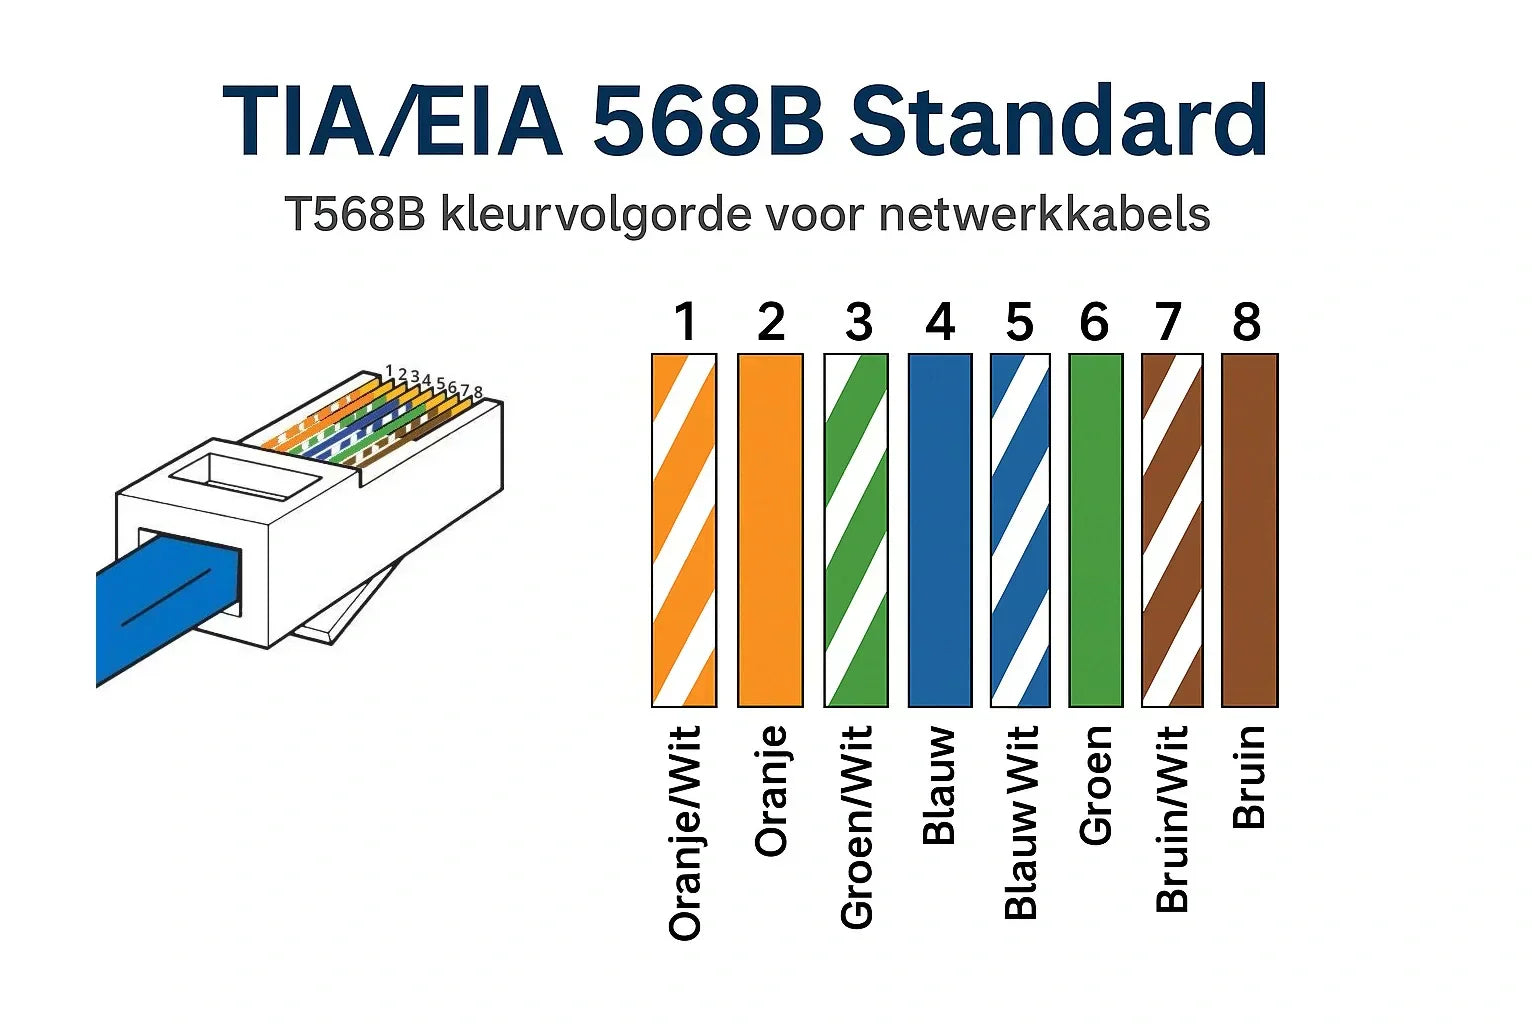
Which network cable is suitable?
You can choose from several types of cables. The three most common are:
-
Cat5e for basic use
-
Cat6 for higher speeds
-
Cat6a for future-proof networks
For newly installed networks, Cat6a is the safest choice. This is good for intensive and fast internet use.
Gerelateerde categorieën
Bekijk onze andere blogs
-
, by Jarno Heideman How do you easily set up a home network yourself?
-
, by Jarno Heideman What are the color codes of UTP cables and how do you use them correctly?
-
, by Jarno Heideman How do you test a UTP cable without making mistakes?
-
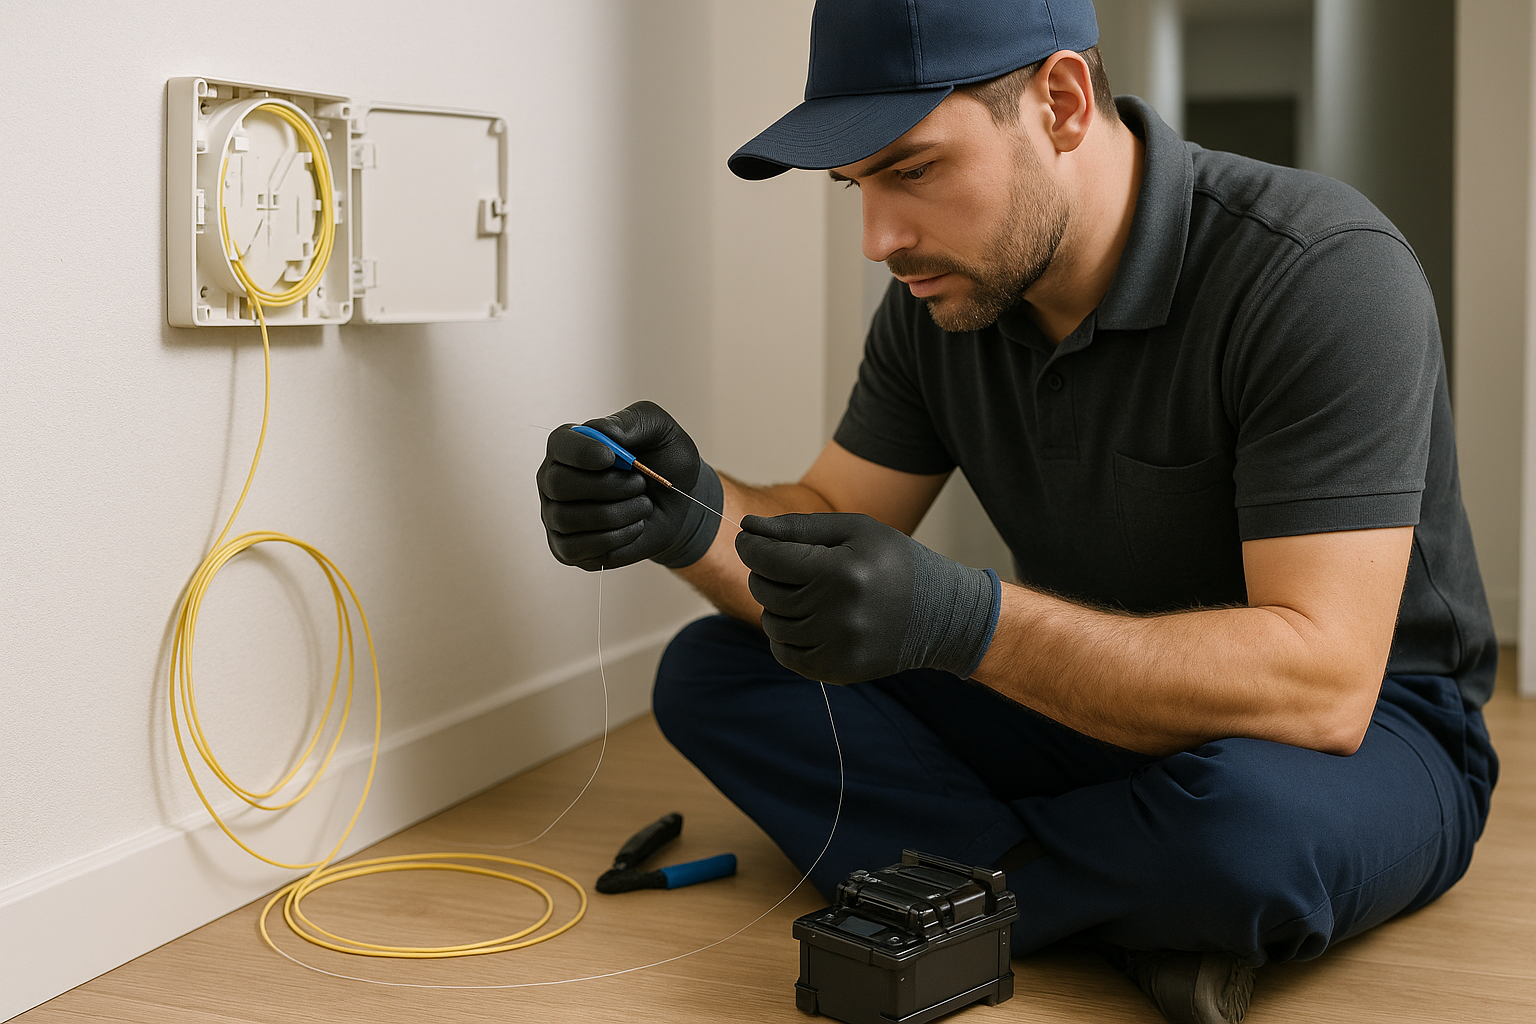
, by Jarno Heideman How do you connect fiber optic yourself without any hassle at home?


