How do I connect a Cat6 cable?
- , by Jarno Heideman
- 2 min reading time

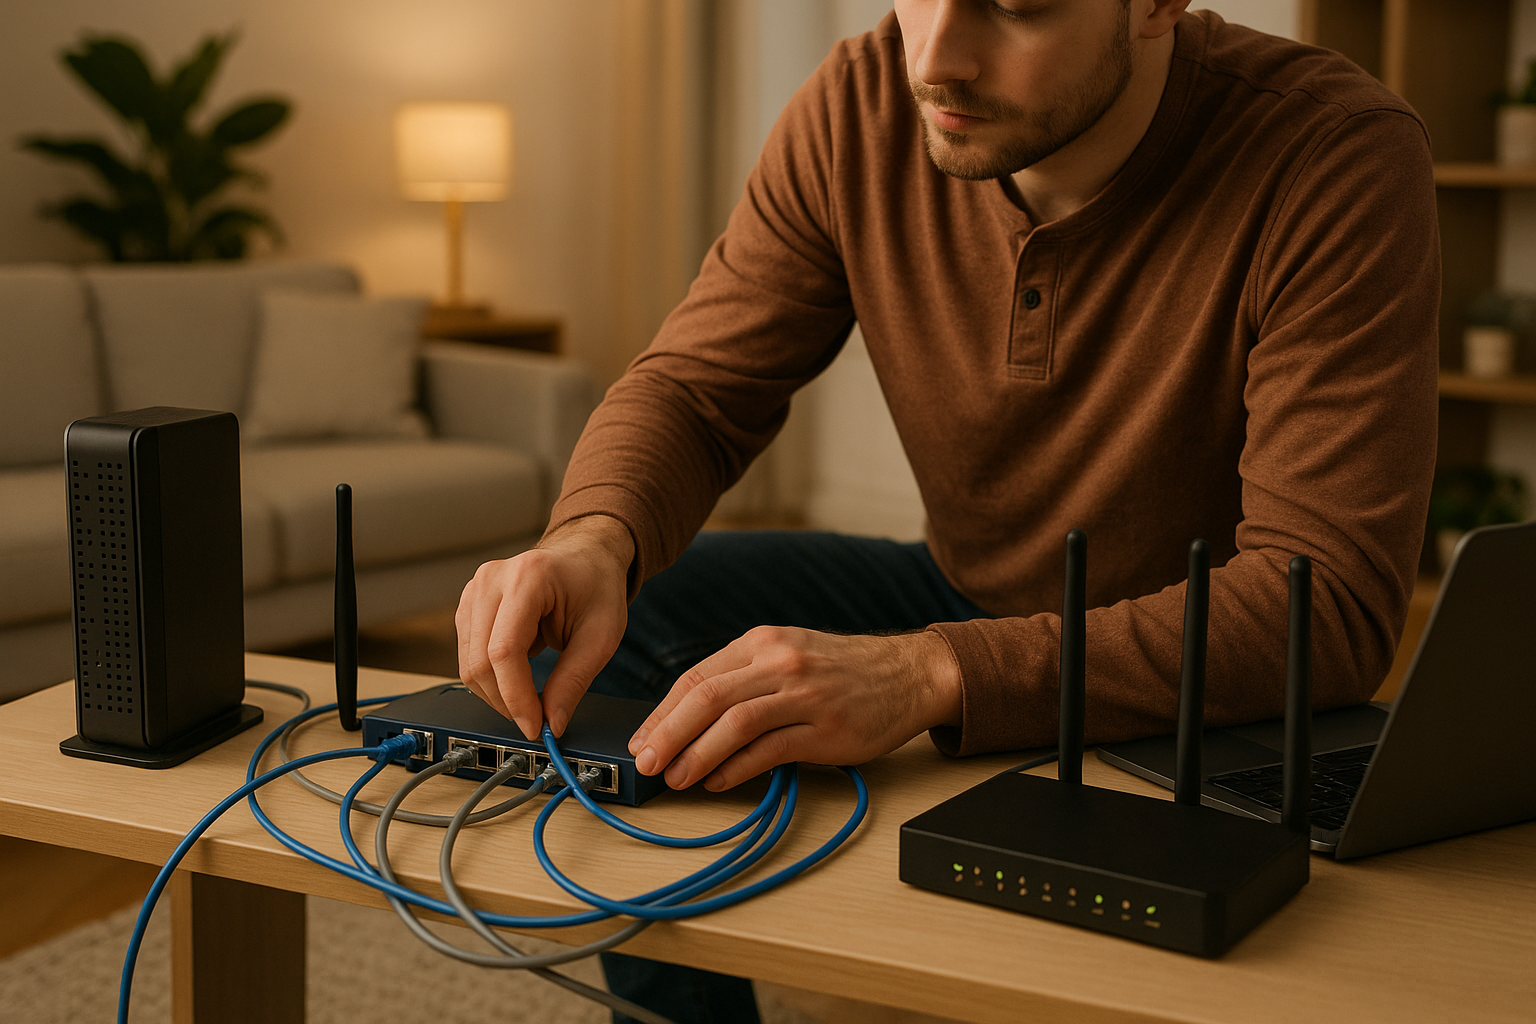
To connect an internal network as stable as possible, Cat6 cables are often used. It is possible to connect a Cat6 cable yourself. These cables are available in different lengths and versions. Before you make a choice from these different versions, it is important to know exactly which cables are there. There are 2 variables that you have to take into account: The speeds and the different sheaths and shielding.
Speeds:
- Cat5e cable: Has a maximum speed of 1,000 mbit/s, 100mhz.
- Cat6 cable: Has a maximum speed of 1.00mbit/s, 250mhz.
- Cat6a cable: Has a maximum speed of 10,000mbit/s, 500mhz.
- Cat7 cable: Has a maximum speed of 10,000mbit/s, 600 to 1500mhz.
Cloak and shields:
- U/UTP, no cable shielding, no core shielding.
- U/FTP, no cable shielding, cores are shielded with foil.
- F/UTP, cable is shielded with foil, no shielded cores.
- S/FTP, cable is shielded with braided screen foil, cores are shielded with foil.
- SF/UTP, cable is shielded with braided screen foil and foil, cores are not shielded
Making a Cat6 cable yourself has several advantages. One of them is that you can determine the length. This means you don't have to deal with bunches of cables on the floor. The holes in the wall that you are going to make don't have to be very big. After all, you only make the connector later. To make a Cat6 cable, you need:
- Cat6 cable
- Connecting lines
- RJ45 folding
-
Cable stripper
To start, first strip the top 5 centimeters of the UTP cable. When you have done this, you will clearly see 4 pairs of wires. These wires must eventually end up in the connector. The cables must first be laid in a specific order, namely:
White-Orange
Orange
White-Green
Blue
Blue-White
Green
Brown-White
Brown
Once the wires are in the correct order, cut the wires to about 1.5 centimeters. Make sure they are all cut properly. Then push them into the connector in the correct order and then crimp them with the RJ45 pliers.
Related categories
Check out our other blogs
-

, by Jarno Heideman How do you easily set up a home network yourself?
-

, by Jarno Heideman What are the color codes of UTP cables and how do you use them correctly?
-

, by Jarno Heideman How do you test a UTP cable without making mistakes?
-

, by Jarno Heideman How do you connect fiber optic yourself without any hassle at home?


