How do you connect a UTP wall socket yourself?
- , by Jarno Heideman
- 8 min reading time

How to properly connect a UTP wall socket yourself
Do you want to make a fixed internet connection at home or in the office? Then a UTP wall socket is a smart solution. It ensures a reliable connection without being dependent on wifi. With the right explanation you can easily do this yourself. Here you can read how to connect a UTP wall socket, which color sequence you use, which tools you need and what you should pay attention to to prevent mistakes.
What do you need to install a UTP wall socket?
Before you get started it is important to have everything ready. Below you can see what you need:
-
UTP cable rigid of the type cat5e, cat6 or cat6a
-
UTP wall socket of the same category as the cable with LSA connection
-
Lsa tool also called punch down tool
-
Cable stripper or sharp knife
-
Phillips screwdriver
-
Network Cable Tester to check your work
Make sure you use the right category of cable to match your network equipment. Cat6 is a safe choice for higher speeds of up to a thousand megabits or more.
Remove old wall socket and prepare cables
If you are replacing an existing wall socket, start by removing the cover plate. Then unscrew the base from the flush-mounted box and carefully pull the cable out. Check the cable for damage.
Then strip about five centimeters of the outer sheath. You do this with a cable stripper or a sharp knife. Be careful not to cut the wires on the inside. Leave the wire pairs twisted as much as possible until close to the connection, this helps to prevent interference in the signal.
Using the correct order of the veins
For a stable connection you must use the correct color sequence. There are two standards: T568A and T568B. In the Netherlands, T568B is usually used.
For T568B the sequence looks like this:
-
white orange
-
orange
-
white green
-
blue
-
white blue
-
green
-
white brown
-
brown
In a UTP wall socket the order may look different, in that case use the B order stated on the sticker on the inside of the wall socket.
Make sure you follow this order on both ends of the cable. Use the lsa tool to firmly push the wires into the correct slots. The pliers will push the wires in and cut the end off.
Be careful to press the wires deep enough into the clamps. A loose wire can cause a bad or broken connection.
Installing and finishing a wall socket
Are all the wires firmly attached in the correct order? Then click the connection into the holder and place it in the flush-mounted box. Screw everything tight so that it stays neat and firm.
Do not bend the cable sharply and avoid tension on the cores. Work calmly and ensure that there is enough space behind the box. For small flush-mounted boxes, you can choose a compact or angled version.
Then place the cover plate for a neat finish.
Check if the connection works
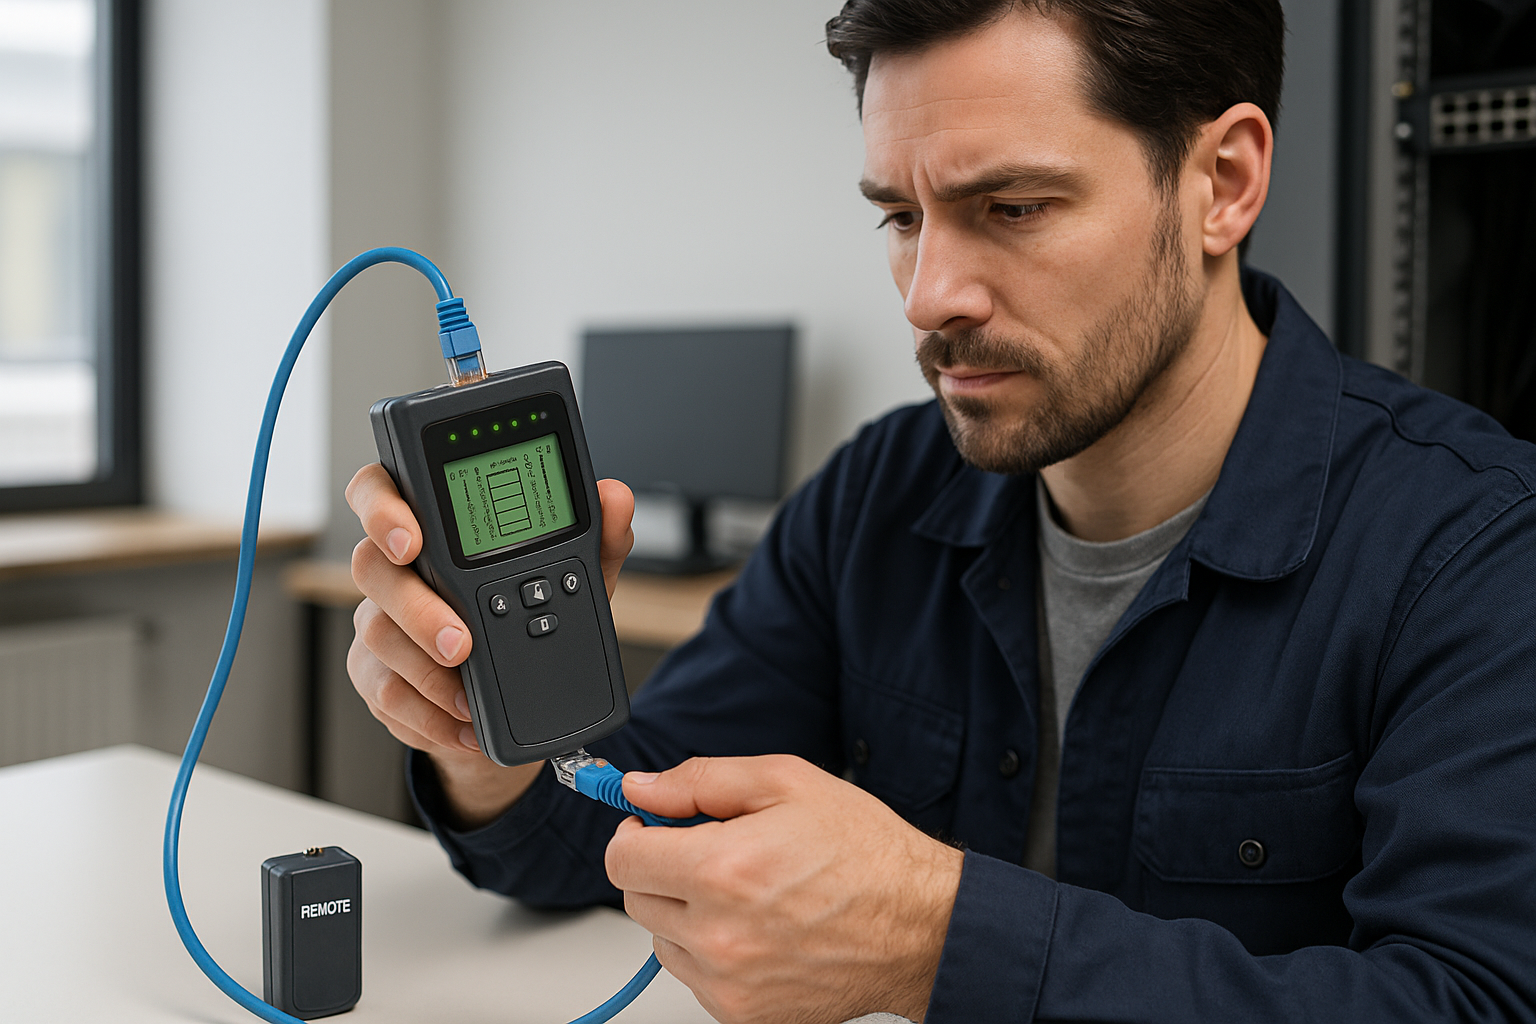
Use a network tester to check that everything is connected properly. Connect the tester to both ends of the cable. The lights will indicate that all wires are making good contact.
If you don't have a tester, you can temporarily connect a computer or laptop. If a network connection appears, you know that the order of the connection is correct.
If the tester or your device does not give a good signal, this could indicate:
-
Incorrect color sequence
-
A vein that is not properly attached
-
Twists in the cable that are too loose
-
Damage during stripping
Please check this carefully and rework everything if necessary.
Common mistakes when connecting a UTP wall socket
When connecting a utp wall socket, the same mistakes are often made. These are the things you should pay attention to:
-
A wrong combination of T568A and T568B
-
Stripping too short, causing the veins to pull
-
Stripping for too long can cause interference
-
Veins that are not pressed deeply enough
-
Do not use an LSA tool that will cause loose connections
Always use the same color code on both sides of the cable. Work calmly and always test before screwing everything shut.
Create two connection points with one cable
Sometimes you only have one cable but you still want two network points in the same place. For speeds up to a hundred megabits you can divide a cable into two times four wires.
Then divide the veins as follows:
Gate 1
-
white orange
-
orange
-
white green
-
green
Gate 2
-
white blue
-
blue
-
white brown
-
brown
Please note that this is not suitable for higher speed networks or for applications with power over the cable such as PoE. Then you always need eight cores.
Step by step connecting UTP wall socket
-
Disconnect the old socket or prepare the location
-
Strip five centimeters of the outer sheath from the UTP cable
-
Keep the pairs of wires twisted as much as possible
-
Select color sequence T568B and sort the veins
-
Press the wires into the slots of the socket using an LSA tool
-
Check that everything is secure and in the right place
-
Place the socket in the wall and screw it in place
-
Install the cover plate
-
Connect a network tester or use a computer to check
-
Not working? Check the color sequence and connections again
Tips to do it neatly and properly
When connecting a UTP wall socket, you not only want it to work, but also to be neat and durable. A common mistake is to use a screwdriver to press the wires. Never do this. Always use an lsa tool. This ensures that the wires are pressed firmly and at exactly the right depth without damaging the clamp or shifting the wire.
Also pay attention to how you place the wires in the slots. The closer the twists of the wire pairs stay to the connection, the better the signal quality. Only loosen the twists just before you place the wire in the slot.
The cable itself must not be under tension. Leave sufficient space in the flush-mounting box and avoid sharp bends or kinks.
Always test the connection before you close everything. That way you can quickly find out if everything is in place.
Finally, you finish it all off neatly with a cover plate. This protects the connection from dust and gives the whole a sleek, professional look.
Related categories
Check out our other blogs
-

, by Jarno Heideman How do you easily set up a home network yourself?
-

, by Jarno Heideman What are the color codes of UTP cables and how do you use them correctly?
-

, by Jarno Heideman How do you test a UTP cable without making mistakes?
-

, by Jarno Heideman How do you connect fiber optic yourself without any hassle at home?


