
How do you connect a UTP cable yourself with the correct color sequence?
- , by Jarno Heideman
- 7 min reading time

This is how you connect a UTP cable yourself with the correct color sequence
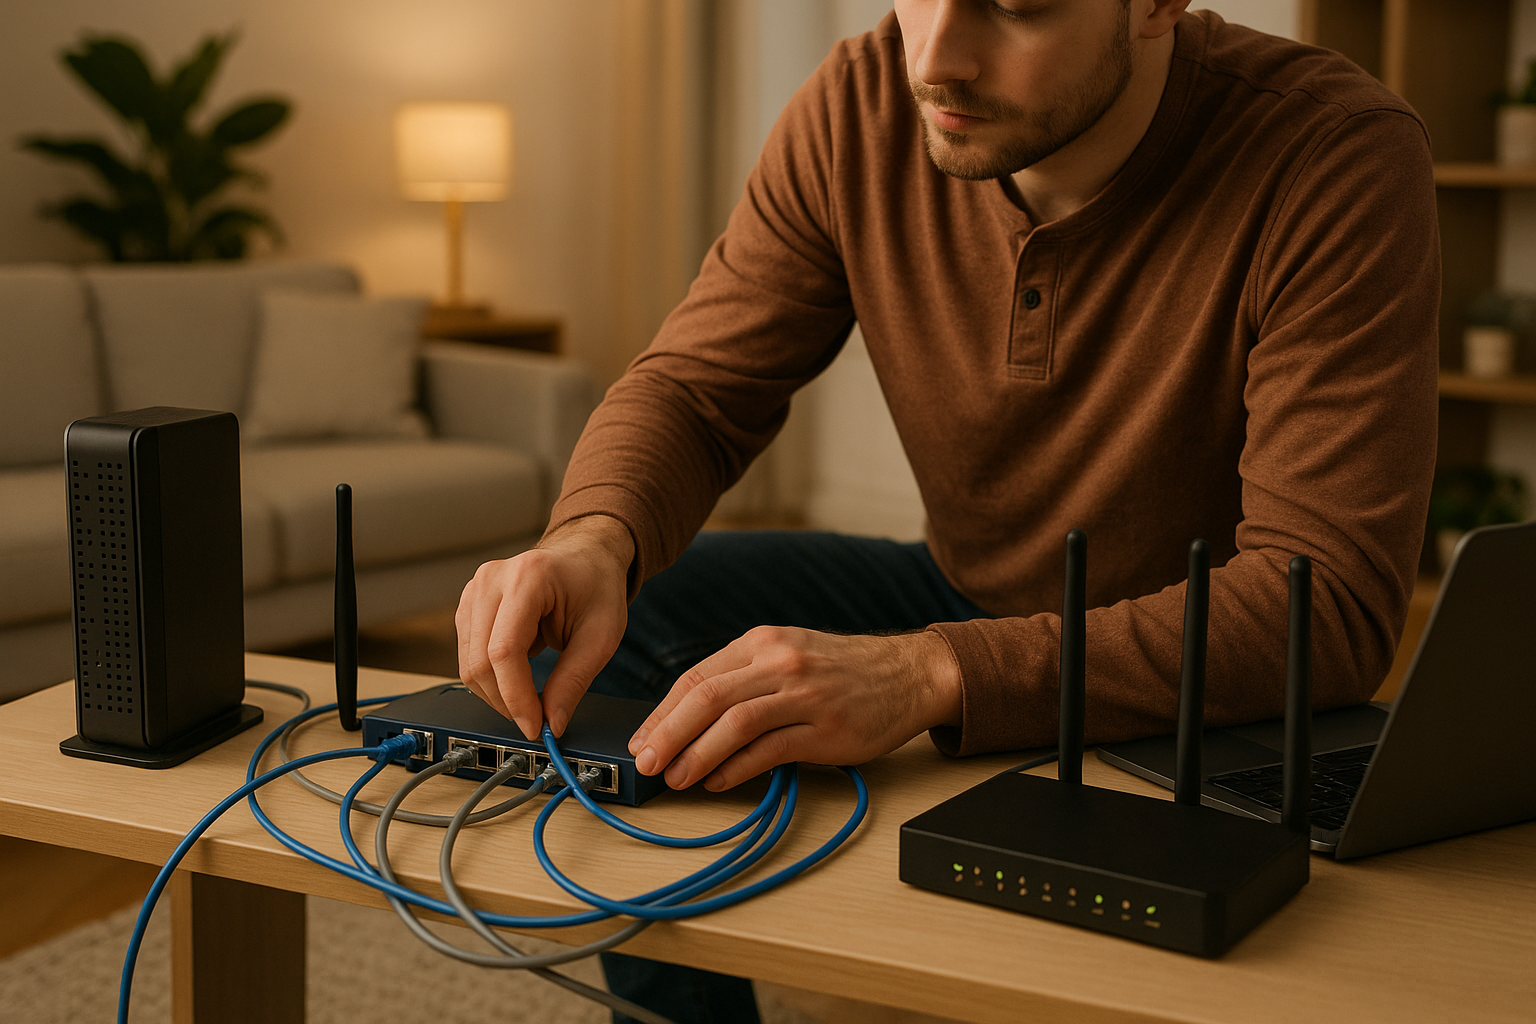
Connecting a utp cable may seem difficult, but with the right explanation almost everyone can do it. Whether you want to make a network cable for home, office or server cabinet, the most important thing is that you use the right color sequence and work neatly. In this manual you can read exactly what you need, how to correctly finish the cable with an rj45 plug, and how to prevent mistakes that can disrupt the connection.
What you need to connect a UTP cable
To make a good internet cable, you need the right tools and parts. Here is an overview of what you need to have ready before you start:
-
A good pair of wire cutters or cable cutters
-
A cable stripper that removes the outer sheathing of the network cable
-
A crimping tool to secure the wires in the plug
-
A pair of RJ45 connectors, suitable for your cable type
-
A cable tester to check if everything is working properly
-
The correct UTP cable (for example Cat5e, Cat6, Cat6a, Cat7 or Cat8)
Do you work in an environment with a lot of interference or where the cable is exposed to moisture, such as in the garden or garage? Then choose a cable with extra shielding or a waterproof cable. These types are specially made to counteract interference and weather influences.
What about the color coding of UTP cables?
A utp cable consists of eight thin wires that are twisted into four pairs. Each pair has a color and a white variant. The color sequence of these wires is important, because only with the correct sequence you get a stable network connection. There are two standards that are used: 568A and 568B.
Both standards work fine, as long as you use the same one on both ends of the cable. In the Netherlands, 568B is commonly used .
Color sequence at 568A
-
White with green
-
Green
-
White with orange
-
Blue
-
White with blue
-
Orange
-
White with brown
-
Brown
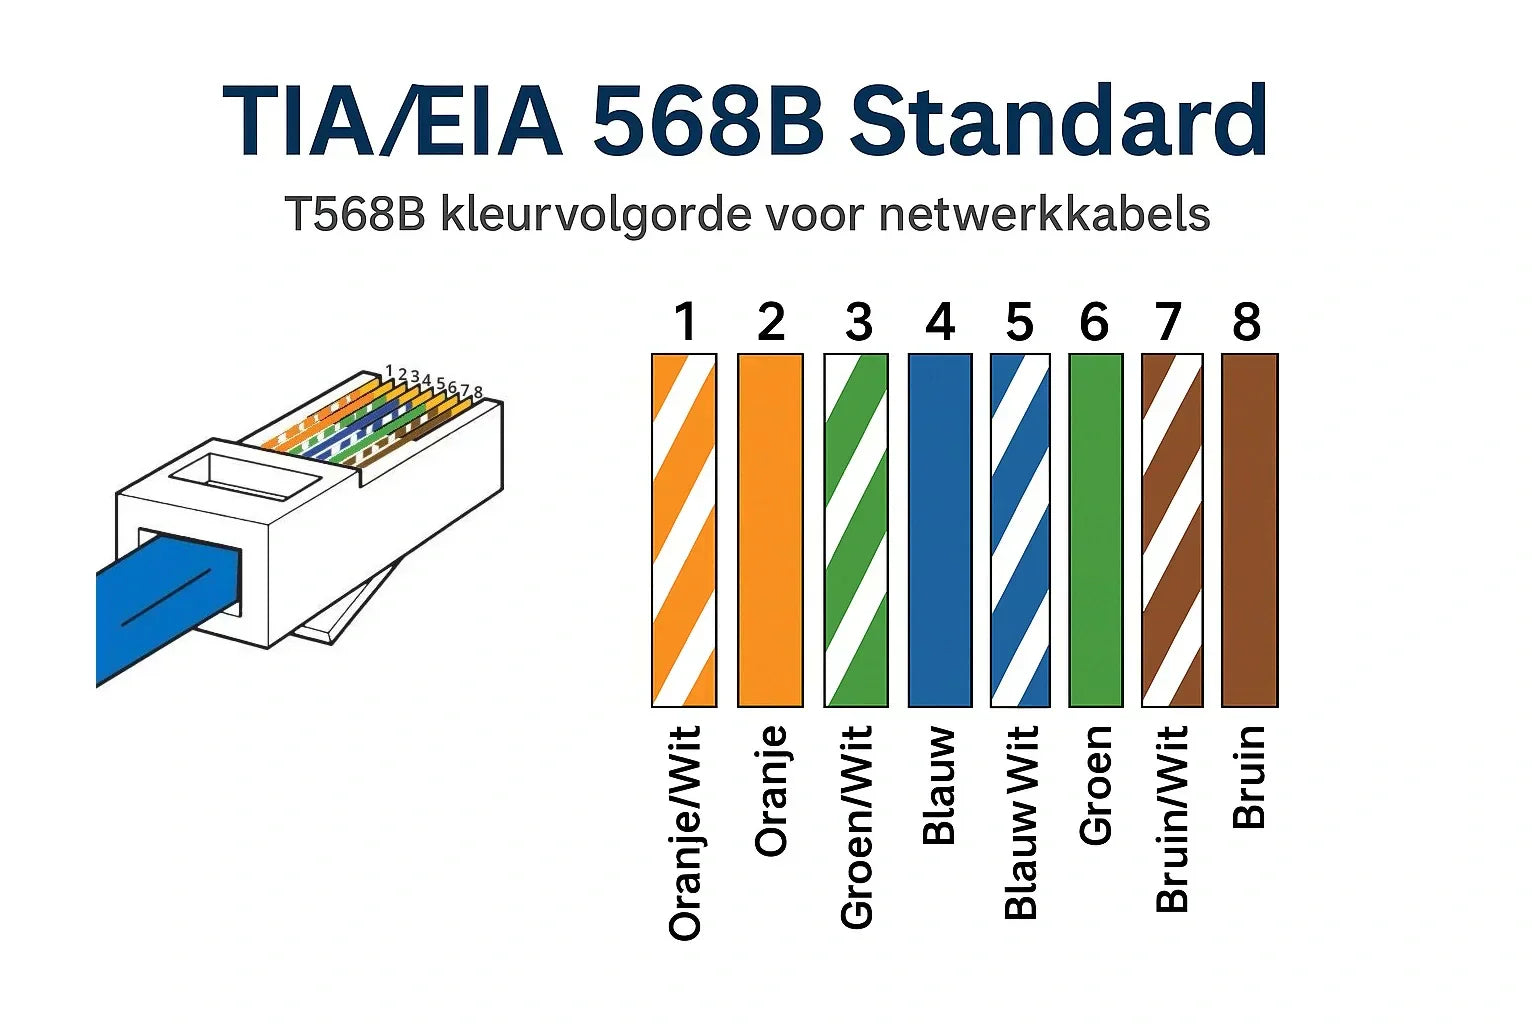
Color sequence at 568B
-
White with orange
-
Orange
-
White with green
-
Blue
-
White with blue
-
Green
-
White with brown
-
Brown
Print out or save a list of these tables so you can quickly consult them when connecting.
Make your own UTP cable step by step
Strip the sheathing from the cable
Remove about three centimeters of the outer sheath. Use a wire stripper or do it carefully with a knife. Be careful not to damage the wire pairs.
Untie the pairs and straighten them
Separate the wires and smooth them out with your fingers. They need to be straight to fit properly in the plug later.
Place the veins in the correct order
Choose 568A or 568B and lay the eight wires in the correct order. They should be tight and flat next to each other. Compare them with an example or a diagram.
Cut the veins evenly
Once all the veins are neatly next to each other, cut them straight to a length of about 1.5 centimeters.
Slide the wires into the RJ45 plug
Note the orientation of the plug. The flat side with the tab is facing down. Push the wires all the way through until they are secure and visible at the front of the plug.
Crimp the plug
Place the plug in the crimping tool and press firmly. You will often hear a click and feel that the plug is properly secured.
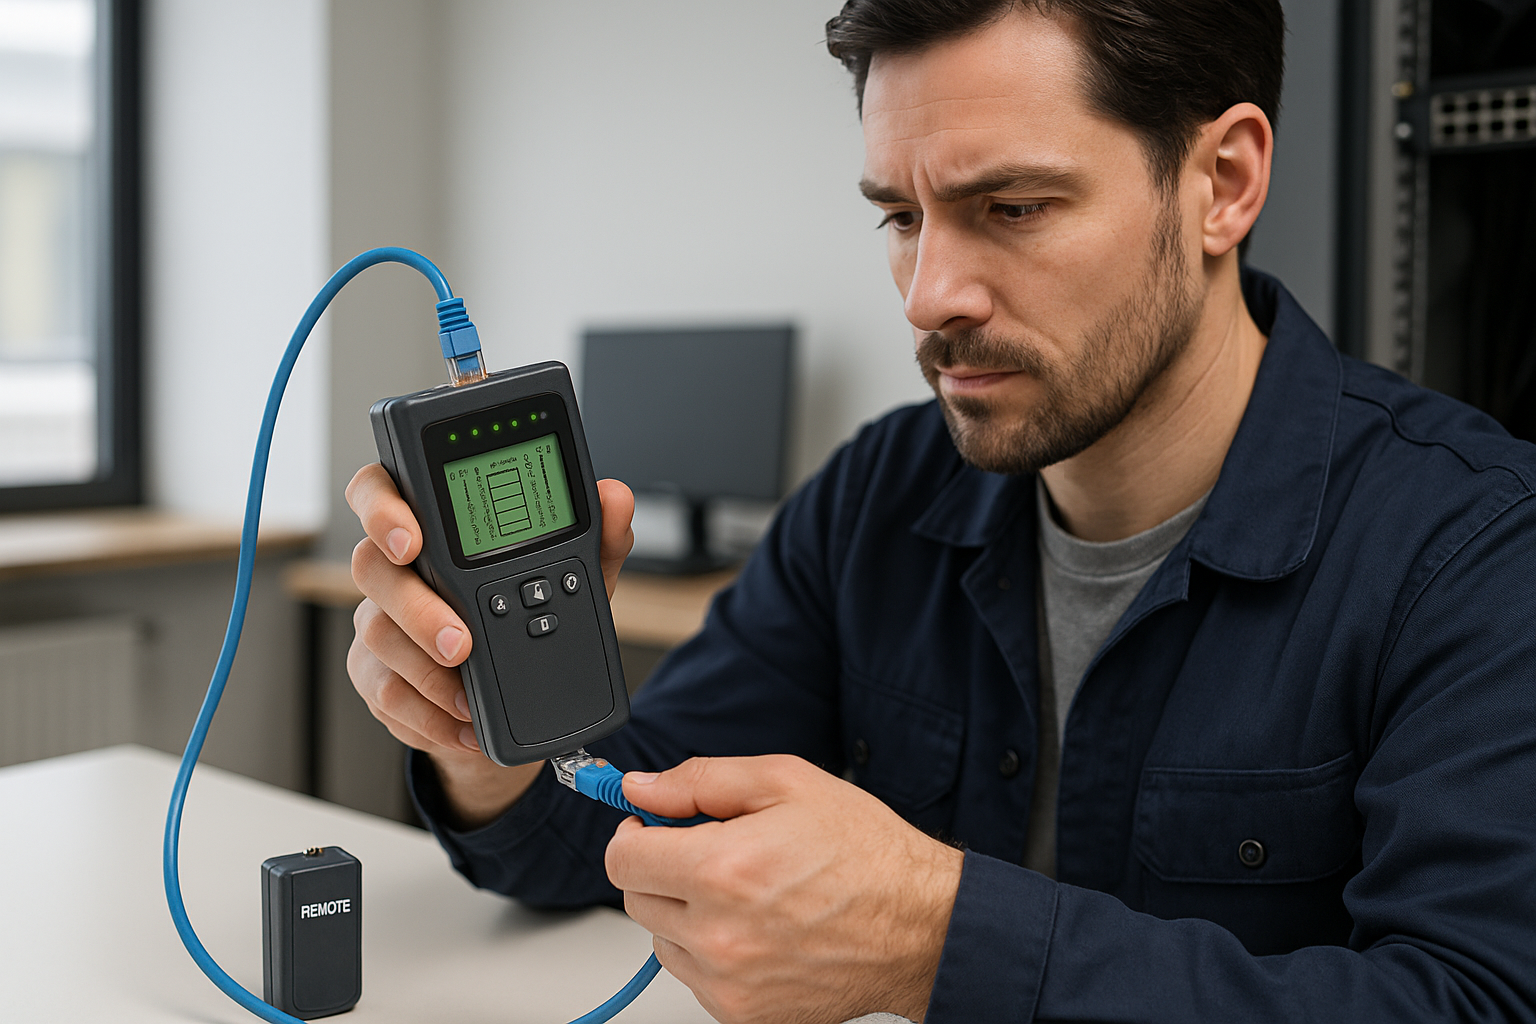
How to check if the cable is working
Use a cable tester to see if you have connected everything correctly. Plug both ends of the network cable into the tester. Do the lights come on in order? Then you are good. Do you not get a signal or is the order wrong? Then you probably have not secured a wire properly or the color order is not the same everywhere.
Connecting the network cable to a wall socket or patch panel
Instead of an rj45 plug, you can also connect a utp cable to a wall socket or in a patch panel. You then work with an LSA strip. In it you press the wires with a special tool, again according to 568A or 568B. This is often used for fixed cabling in homes or offices. The connection method is slightly different, but the color sequence remains the same.
Common mistakes when connecting a UTP cable
Making your own network cable is not difficult, but there are a few things that often go wrong. Here are some typical mistakes:
-
The wires are cut too short and do not touch the contacts in the plug
-
The color sequence is different at one end than the other
-
The wires are crooked or overlapping each other
-
You are using an indoor cable outside, which quickly deteriorates the connection
-
You accidentally damaged a wire while stripping the sheath
Photos of these errors can be very helpful. For example, a connector where one wire does not come through to the end, or a case where the wire colors are mixed up.
How to extend an existing network cable
Sometimes you need to extend a cable. This can be done with a coupling piece in which you click both ends of the cable. For a permanent solution, you can also use a connection box, in which you neatly connect the loose wires by color. Make sure that the extension does not become a bottleneck. So do not combine Cat5e with Cat7, because that can affect the speed of your network.
Handy checklist before you start
-
Do you have all the necessary tools and materials at hand?
-
Do you know which standard you are using, 568A or 568B?
-
Do you have the color sequence in mind?
-
Are the veins neatly straight and tight next to each other?
-
Did you crimp the plug properly?
-
Does the cable work according to the tester?
Gerelateerde categorieën
Bekijk onze andere blogs
-
, by Jarno Heideman How do you easily set up a home network yourself?
-
, by Jarno Heideman What are the color codes of UTP cables and how do you use them correctly?
-
, by Jarno Heideman How do you test a UTP cable without making mistakes?
-
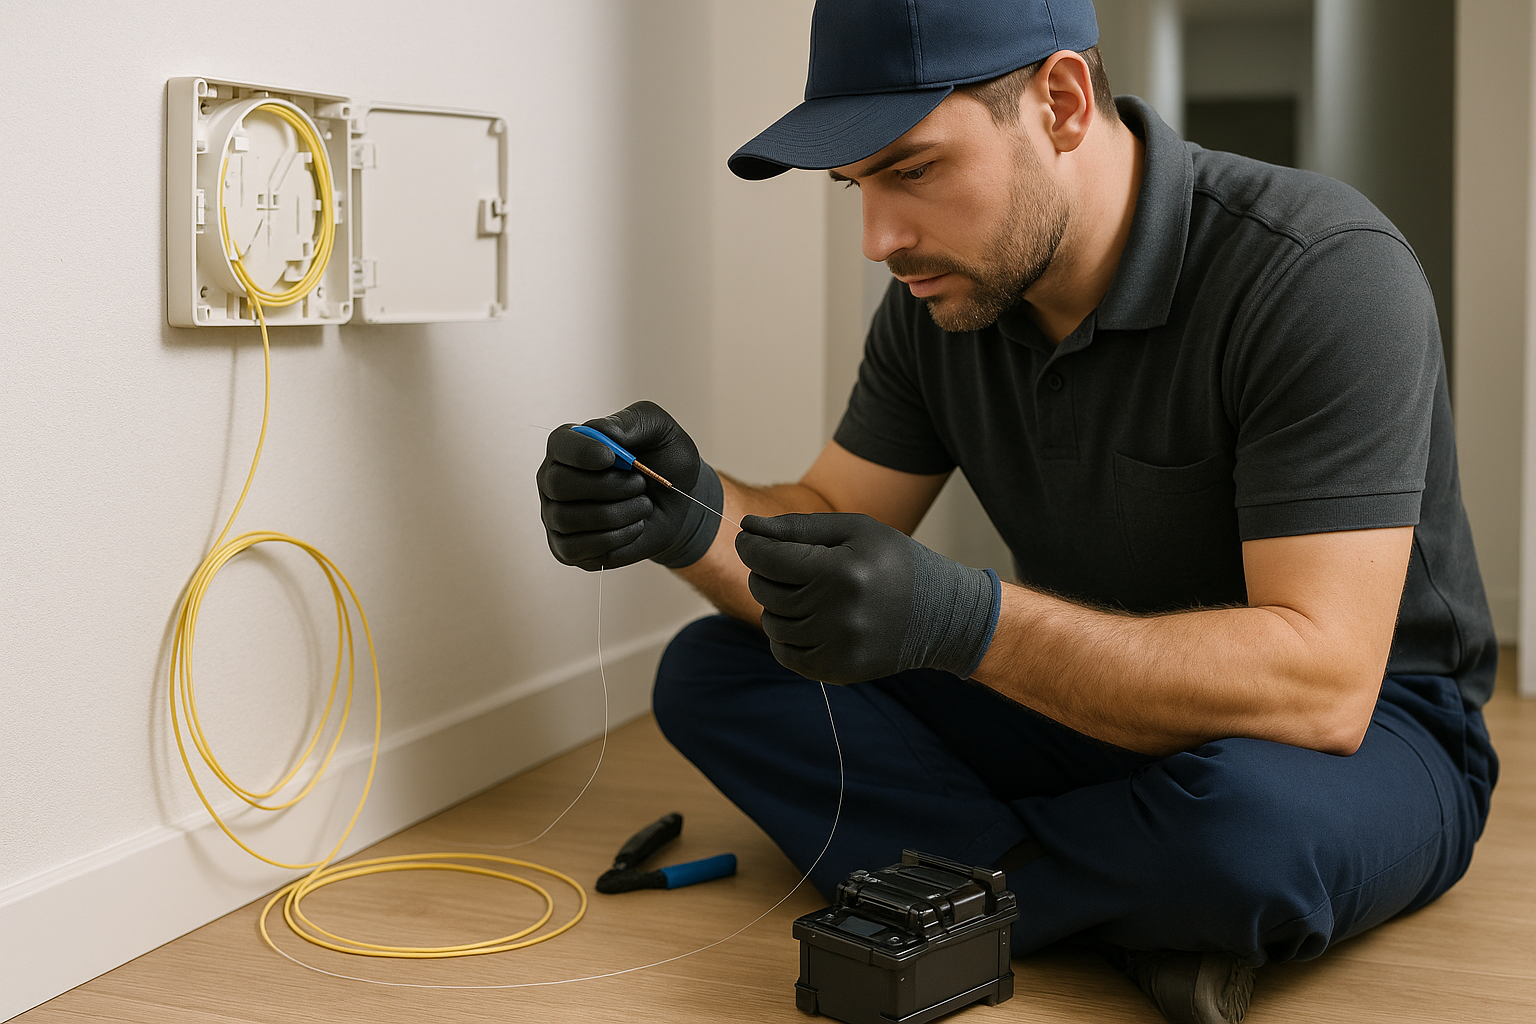
, by Jarno Heideman How do you connect fiber optic yourself without any hassle at home?


