
How do you connect an RJ45 plug yourself?
- , by Jarno Heideman
- 7 min reading time

How to connect an RJ45 plug to a UTP cable yourself
Making a network cable yourself seems difficult, but with the right explanation and a little patience it works fine. In this explanation you will read step by step how to attach an RJ45 plug to a UTP cable. You will learn which materials you need, which color sequence to use and how to check whether everything works properly.
What is an RJ45 plug and what do you use it for?
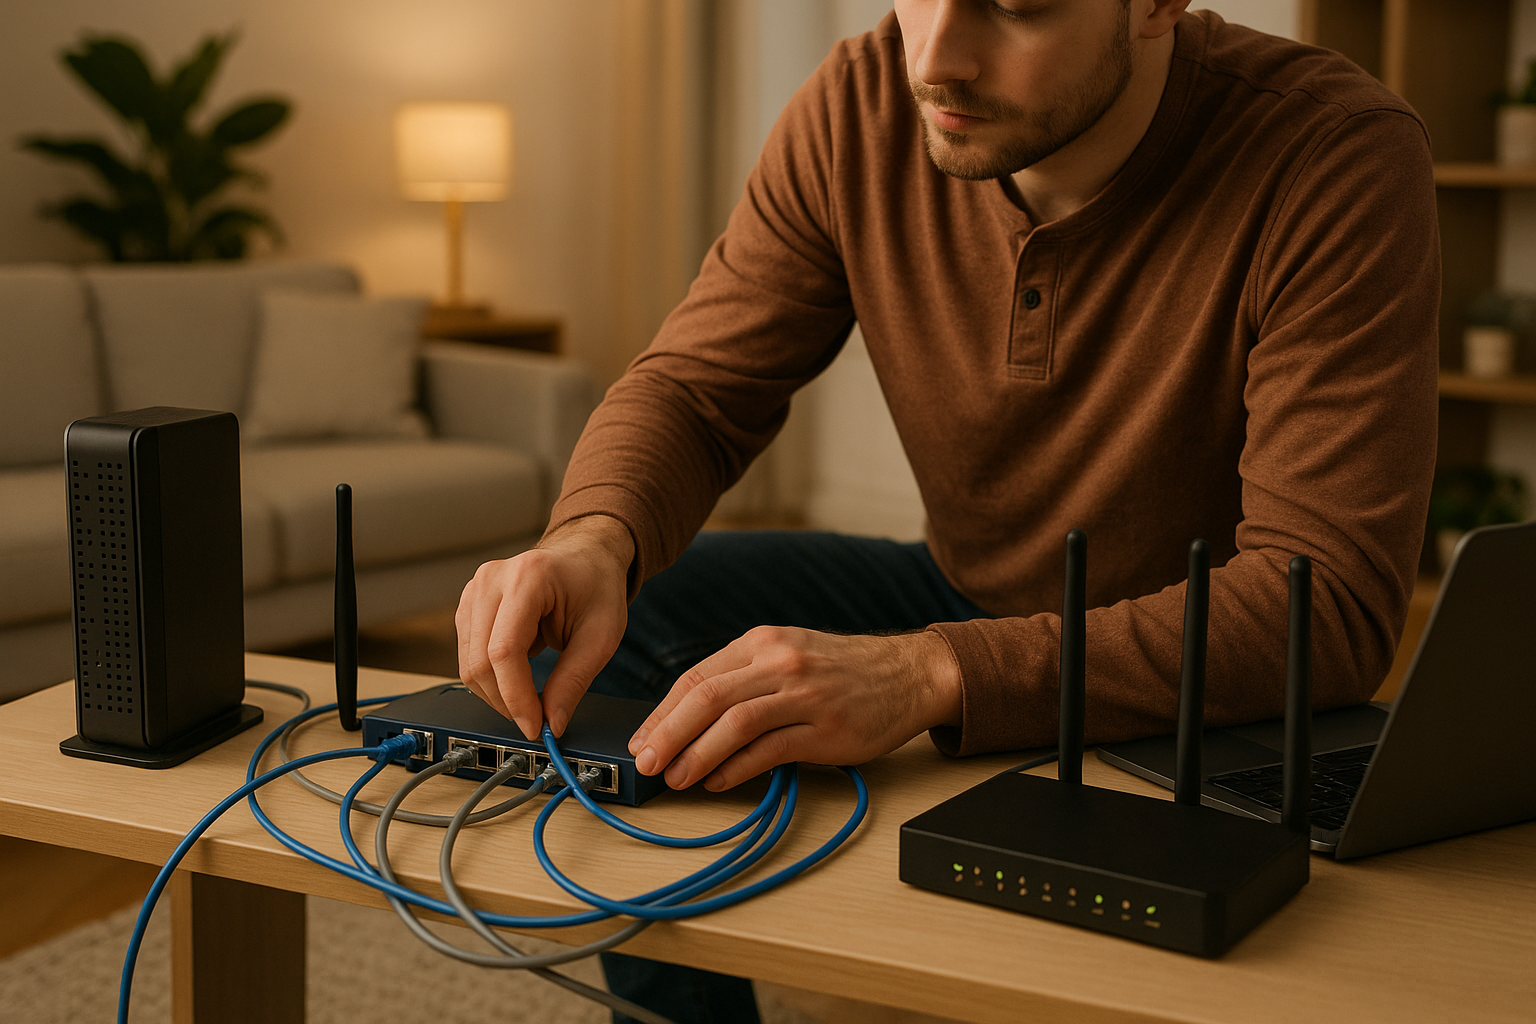
An RJ45 plug is a small plastic part that you use to connect a network cable to a device such as a modem, router or computer. Inside are eight metal contacts that connect to the wires of the cable. You need such a plug if you are making a custom cable yourself or if you want to replace an existing cable.
This is what you need to get started
To mount an RJ45 plug on a UTP cable, use:
-
A piece of UTP cable (Cat5e, Cat6 or higher)
-
An RJ45 plug
-
A pair of stripping pliers and a crimping pliers
-
A sharp pair of cutting pliers or scissors
-
Possibly a cable tester
-
An example of the color sequence (T568A or T568B)
Don't have a crimping tool? Then you can use a toolless connector. You click it shut without tools. Handy for shorter cables or quick solutions.
Start by stripping the cable
Cut the cable neatly straight. Then use a wire stripper or knife to remove about three centimeters of the outer sheath. Be careful not to damage the inner cores. Sometimes there is a white plastic cross in the cable. You can cut that off.
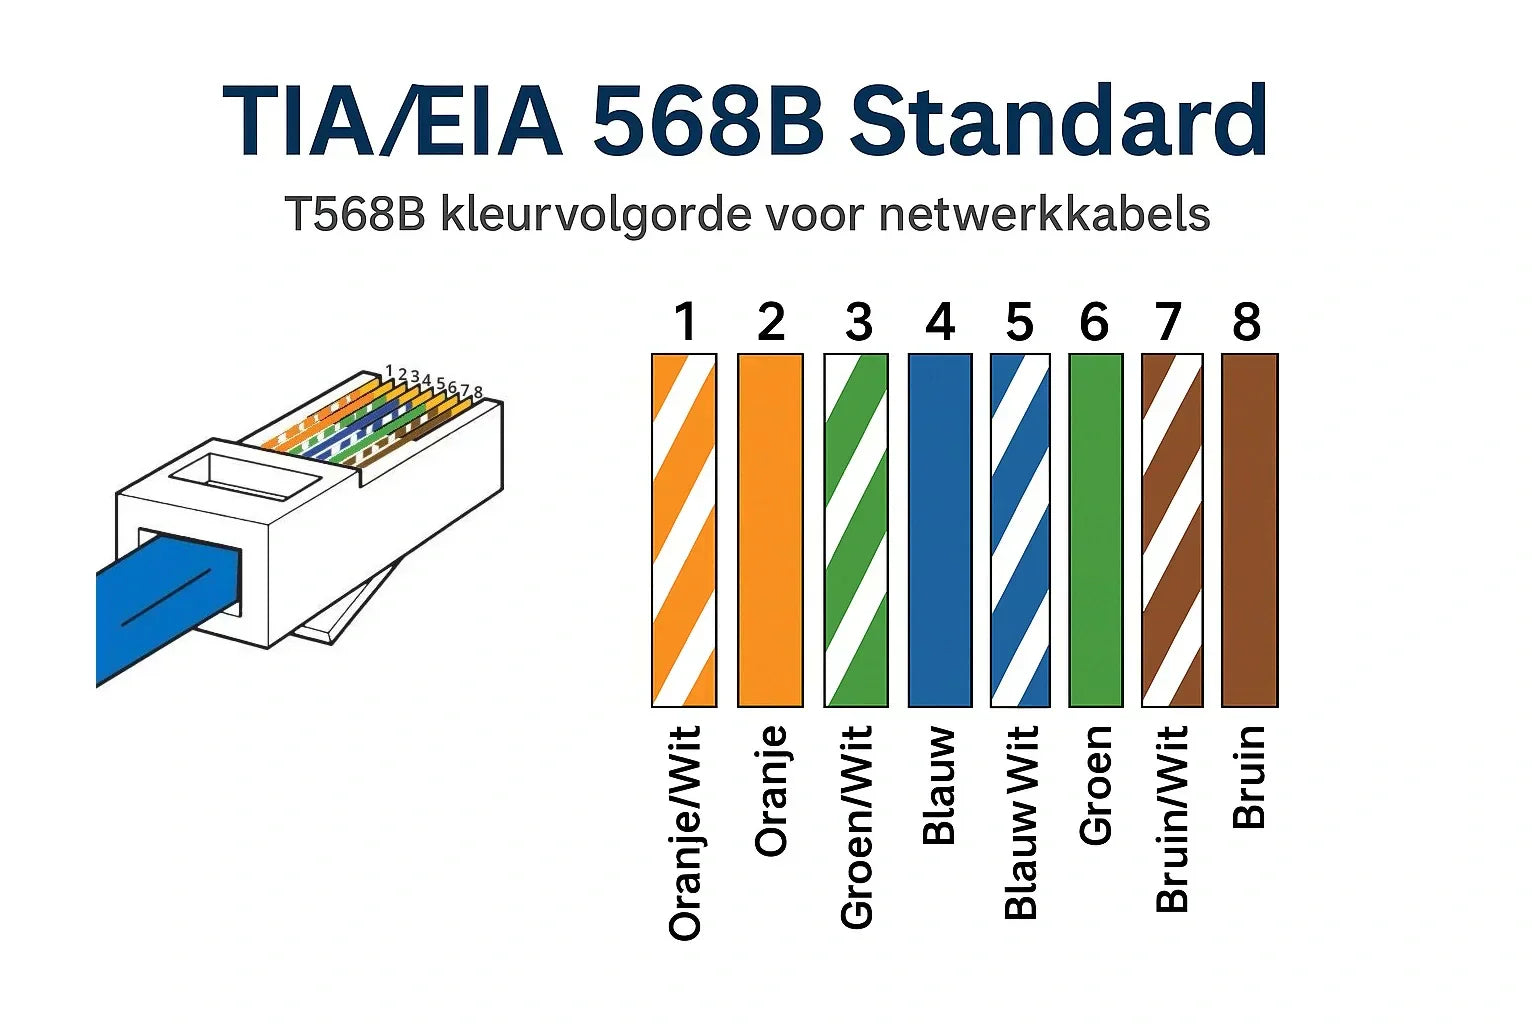
Put the veins in the correct order
Now comes the most important part: determining the correct order of the veins. You choose between T568A and T568B. In the Netherlands, T568B is usually used.
T568B sequence:
-
White orange
-
Orange
-
White green
-
Blue
-
White blue
-
Green
-
White brown
-
Brown
T568A sequence:
-
White green
-
Green
-
White orange
-
Blue
-
White blue
-
Orange
-
White brown
-
Brown
Either order is fine, as long as you connect both ends of the cable the same way.
Cut the veins straight across
Lay the wires tightly next to each other in the correct order. Press them flat between your fingers and then cut them straight so that they are all the same length. Leave about half a centimeter for the plug.
Slide the wires into the plug
Hold the plug with the clip facing down. Gently but firmly push the wires into the plug. You can usually see them through the plastic. The colors should continue in the correct order to the end. Also make sure that a small piece of the sheath falls into the plug for extra strength.
Use the crimping tool to secure everything
Place the plug in the crimping tool and press firmly. This will secure the cores and press the plug firmly around the cable. After crimping, everything is firmly secured.
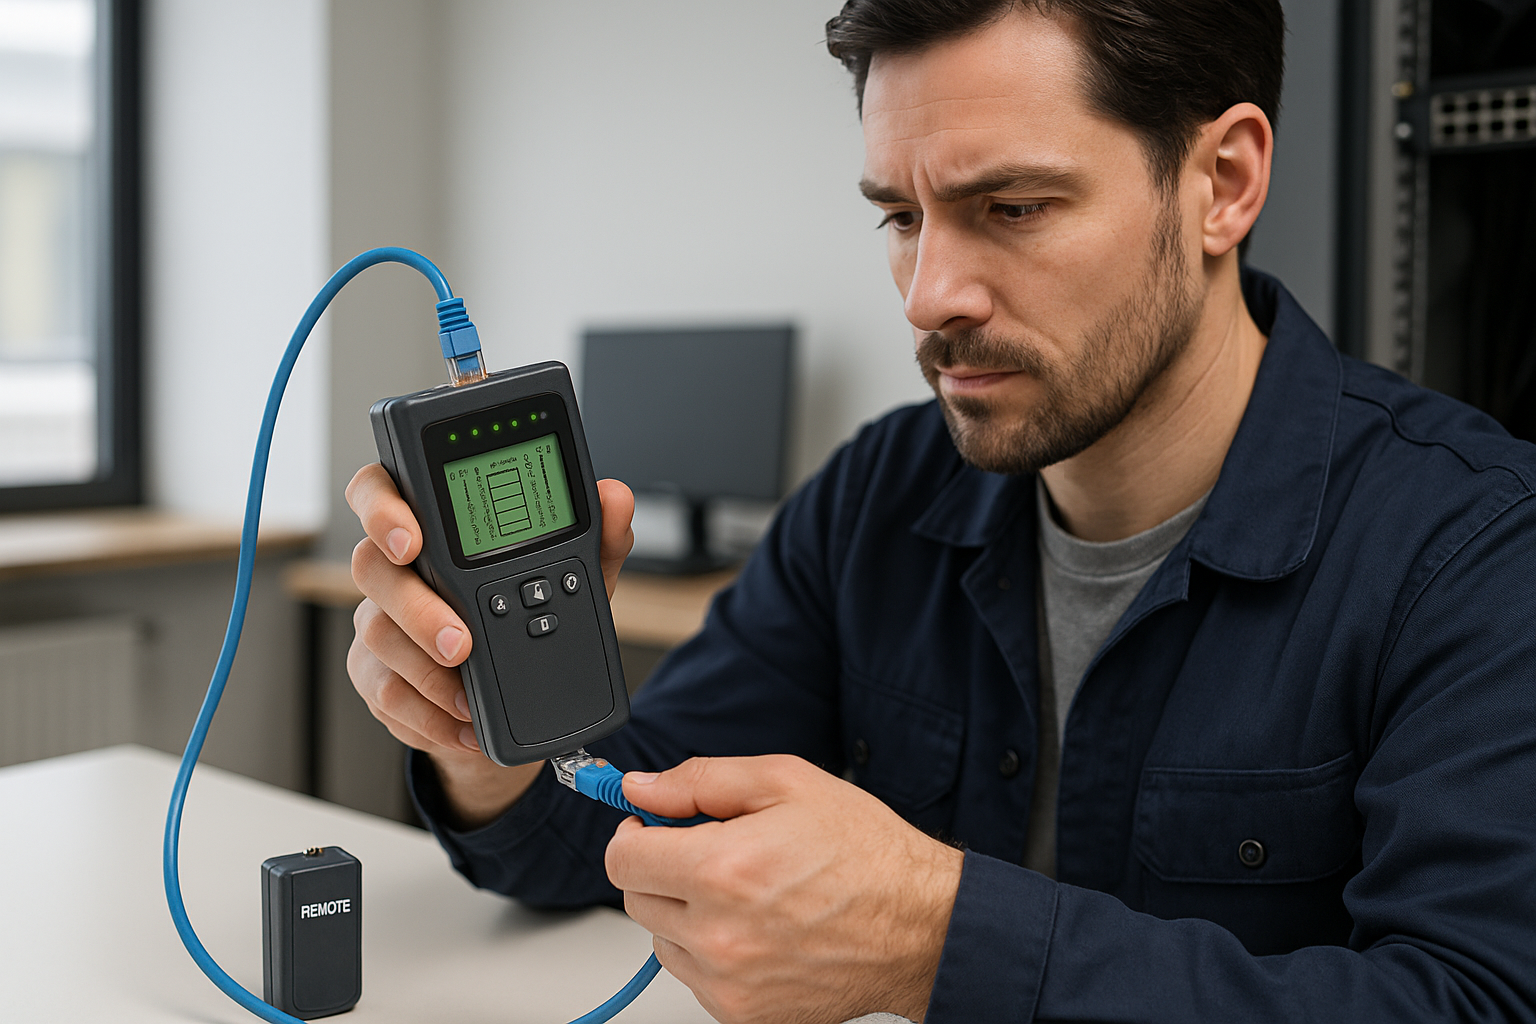
Check if the cable is working
Use a cable tester to see if the connection is successful. Plug both ends into the tester and see if all the lights light up in order. No tester? Then you can also plug the cable directly into your router and laptop to test if you get a connection.
Step-by-step plan for connecting an RJ45 plug
1. Cut the UTP cable straight
Start with a clean cut so the veins are even and easy to work with.
2. Remove 3 cm of the outer sheath
Use a wire stripper or knife to carefully remove the sheathing of the cable. Be careful not to damage the wires.
3. Remove the plastic cross (if present)
Some cables have a white plastic cross. Cut this off for a neater finish.
4. Untangle the veins and put them in the correct order
Select the correct color code, usually T568B, and lay the eight wires flat next to each other.
5. Cut the veins to the same length
Make sure that all ends are the same length and cut straight for a good connection in the plug.
6. Slide the wires into the RJ45 plug
Check carefully that each vein is in the correct channel and has been pushed all the way to the end.
7. Crimp the plug with a crimping tool
Place the plug in the pliers and press firmly. This will secure the wires and ensure the plug is properly positioned around the cable.
8. Test the cable with a tester
Connect both ends to a tester to check that all connections are good.
9. Repeat for the other end if necessary
Also make the second side of the cable, so that you can use the cable immediately.
Common mistakes
-
The veins are in the wrong order
-
Not pushed in far enough
-
Too much of the coat removed
-
Unequal lengths causing the plug not to close properly
-
Different standards used on both sides
Check everything calmly and take your time. This prevents duplication of work.
Additional tips and explanations
Toolless connectors for quick use
These click shut without tools. Handy if you don't have pliers handy. Note that they are less sturdy for longer lengths.
Difference between T568A and T568B
Use the same order on both ends of the cable. T568B is most commonly used in home installations. T568A is sometimes seen in older systems or in certain office networks.
Checklist to download
Want to make sure you have everything? Download the handy checklist with everything you need to connect an RJ45 plug.
For longer cables or outdoor use
Use a shielded cable (FTP or SFTP) and choose plugs that are more resistant to moisture. Outdoors, cables are more susceptible to interference and damage.
With this explanation you can get started without help to connect an RJ45 plug yourself. Whether you are making a network cable for home or work, with this information you will be able to do it.
This way you ensure a stable connection without having to rely on standard ready-made cables.
Gerelateerde categorieën
Bekijk onze andere blogs
-
, by Jarno Heideman How do you easily set up a home network yourself?
-
, by Jarno Heideman What are the color codes of UTP cables and how do you use them correctly?
-
, by Jarno Heideman How do you test a UTP cable without making mistakes?
-
, by Jarno Heideman How do you connect fiber optic yourself without any hassle at home?


