
How do you connect a patch panel yourself for a clear network?
- , by Jarno Heideman
- 7 min reading time

Connecting a patch panel yourself
A good network starts with overview. A patch panel helps you connect multiple network cables to one central location. This keeps everything tidy and gives you control over your network. Whether you are improving your home office or setting up a server cabinet, connecting a patch panel yourself is easy. With the right explanation, materials and a clear step-by-step plan, you can put it together without stress.
What is a patch panel and when do you use it?
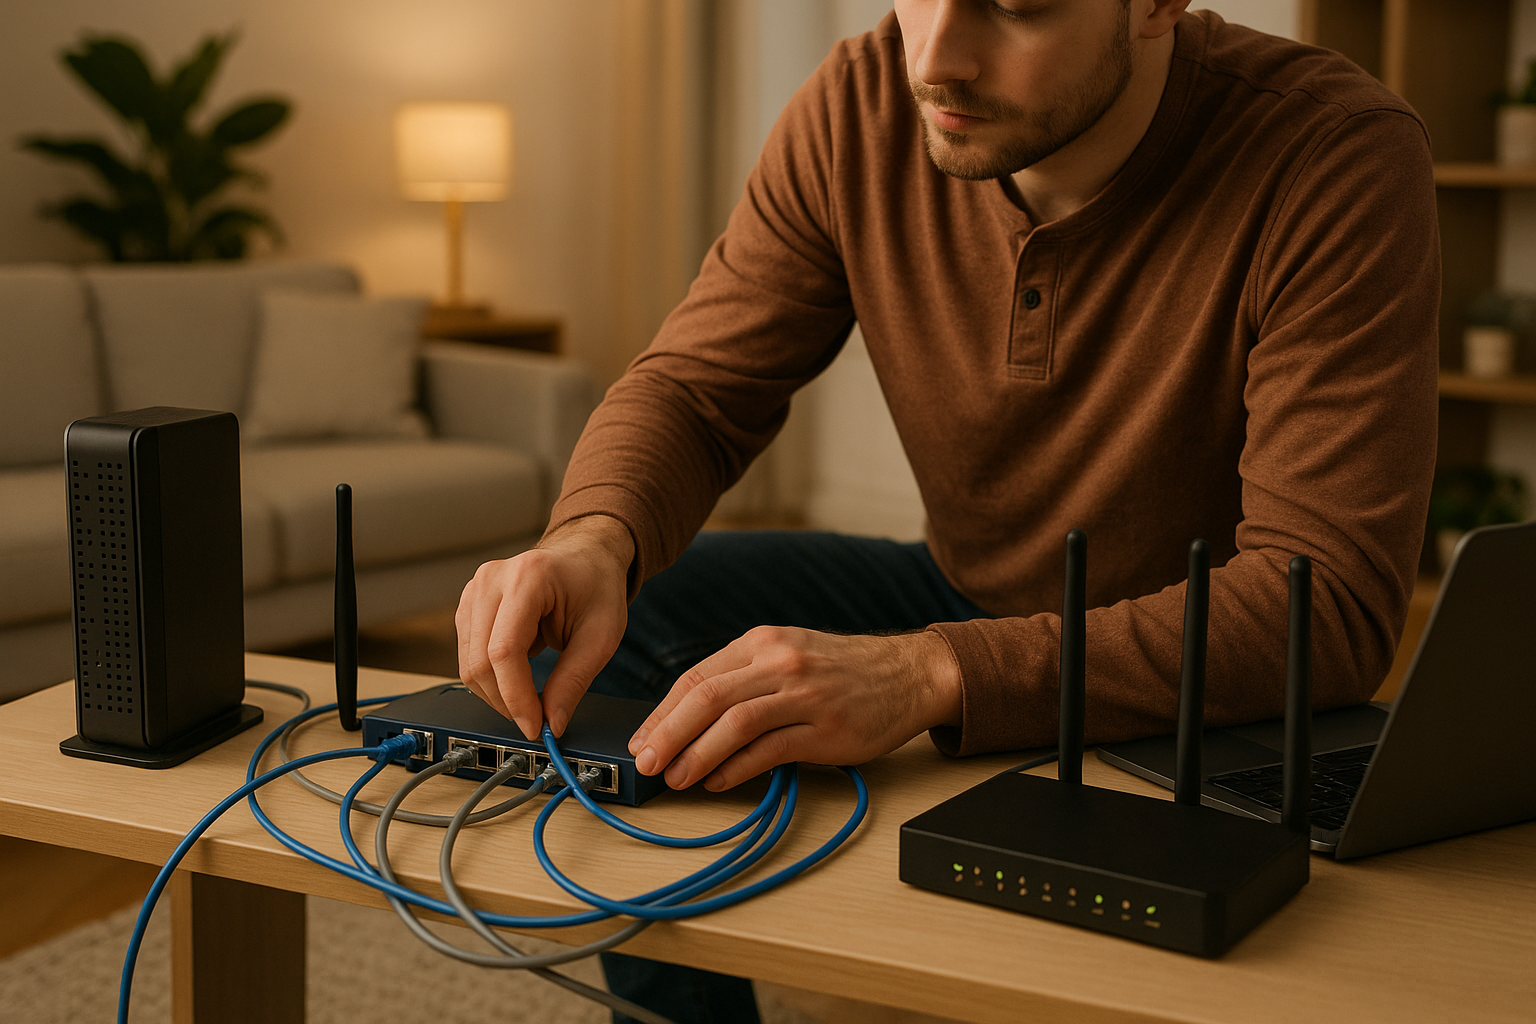
A patch panel is a collection point for network cables. You place it in a network cabinet or on the wall, and connect multiple cables to it. This creates a central point where you bring together all network connections. You then connect the patch panel to a switch or router with short patch cables. This ensures a clear network that you can easily expand or adjust.
At home, you use a patch panel, for example, if you want to connect multiple rooms with a cable to your modem or router. In companies, it is especially useful to create structure in server rooms or technical installations.
What do you need to connect a patch panel?
To connect a patch panel yourself, you need the right tools and good materials. Below you will find a complete list:
-
A patch panel that matches the type of network cable
-
LSA pliers or punchdown tool to push wires into the panel
-
UTP or FTP network cable such as CAT6 or CAT6a
-
Cable stripper to remove the sheathing
-
Crimping tool and RJ45 connectors if you make your own cables
-
Network cable tester to check connections
-
Mounting material such as screws or a patch cabinet
Make sure you have these items within reach before you start. At Netwerkkabel.eu you can easily order them all at once.
Step-by-step plan for connecting a patch panel
Below you will find a simple step-by-step plan that will guide you through connecting your patch panel.
Step 1 Strip the network cable
Strip about five centimeters of the outer sheath with a cable stripper. Be careful not to damage the cores. Preferably use solid core cables for a strong connection.
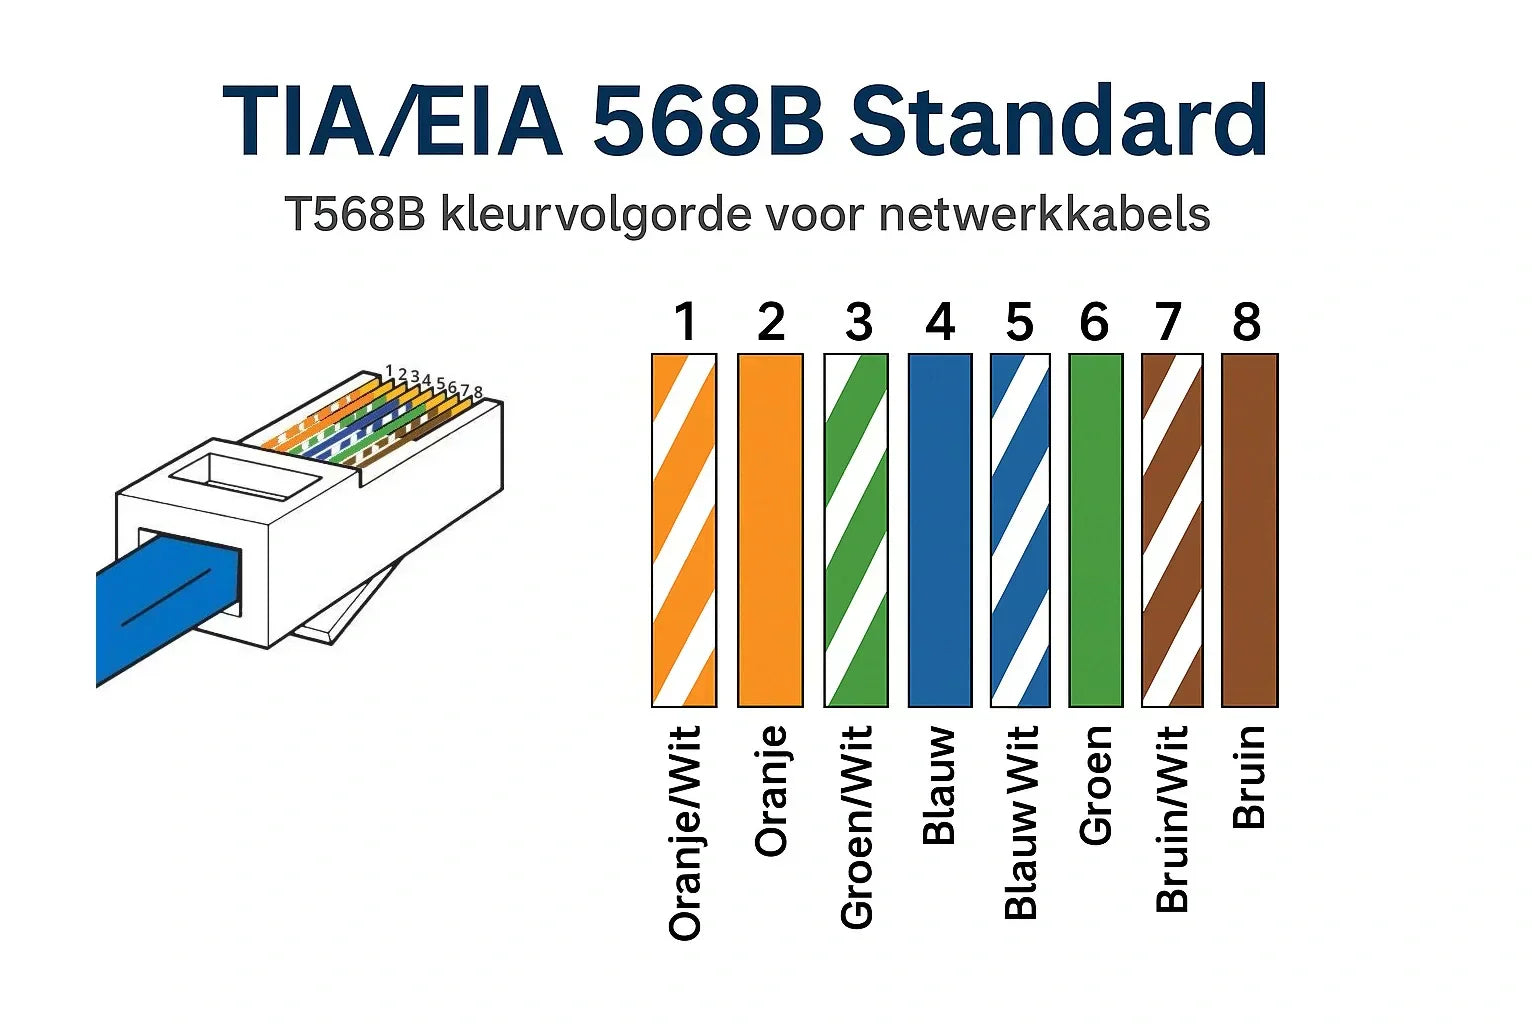
Step 2 Sort the veins by color
Follow the T568B standard. This is the most commonly used color coding:
Orange white – Orange
Green white – Blue
Blue white – Green
Brown white – Brown
Step 3 Press the wires into the patch panel
Place each wire in the appropriate slot on the panel. Use the LSA pliers to press them firmly. This ensures a reliable connection.
Step 4 Secure the cables firmly
Use strain relief or cable ties to ensure that cables cannot become loose or move. This will extend the life of your network.
Step 5 Mount the patch panel
Mount the panel in a patch cabinet or on the wall. Make sure everything is secured and the cables are neatly concealed.
Step 6 Connect the switch
Use short patch cables to connect the ports on the patch panel to the ports on your switch or router.
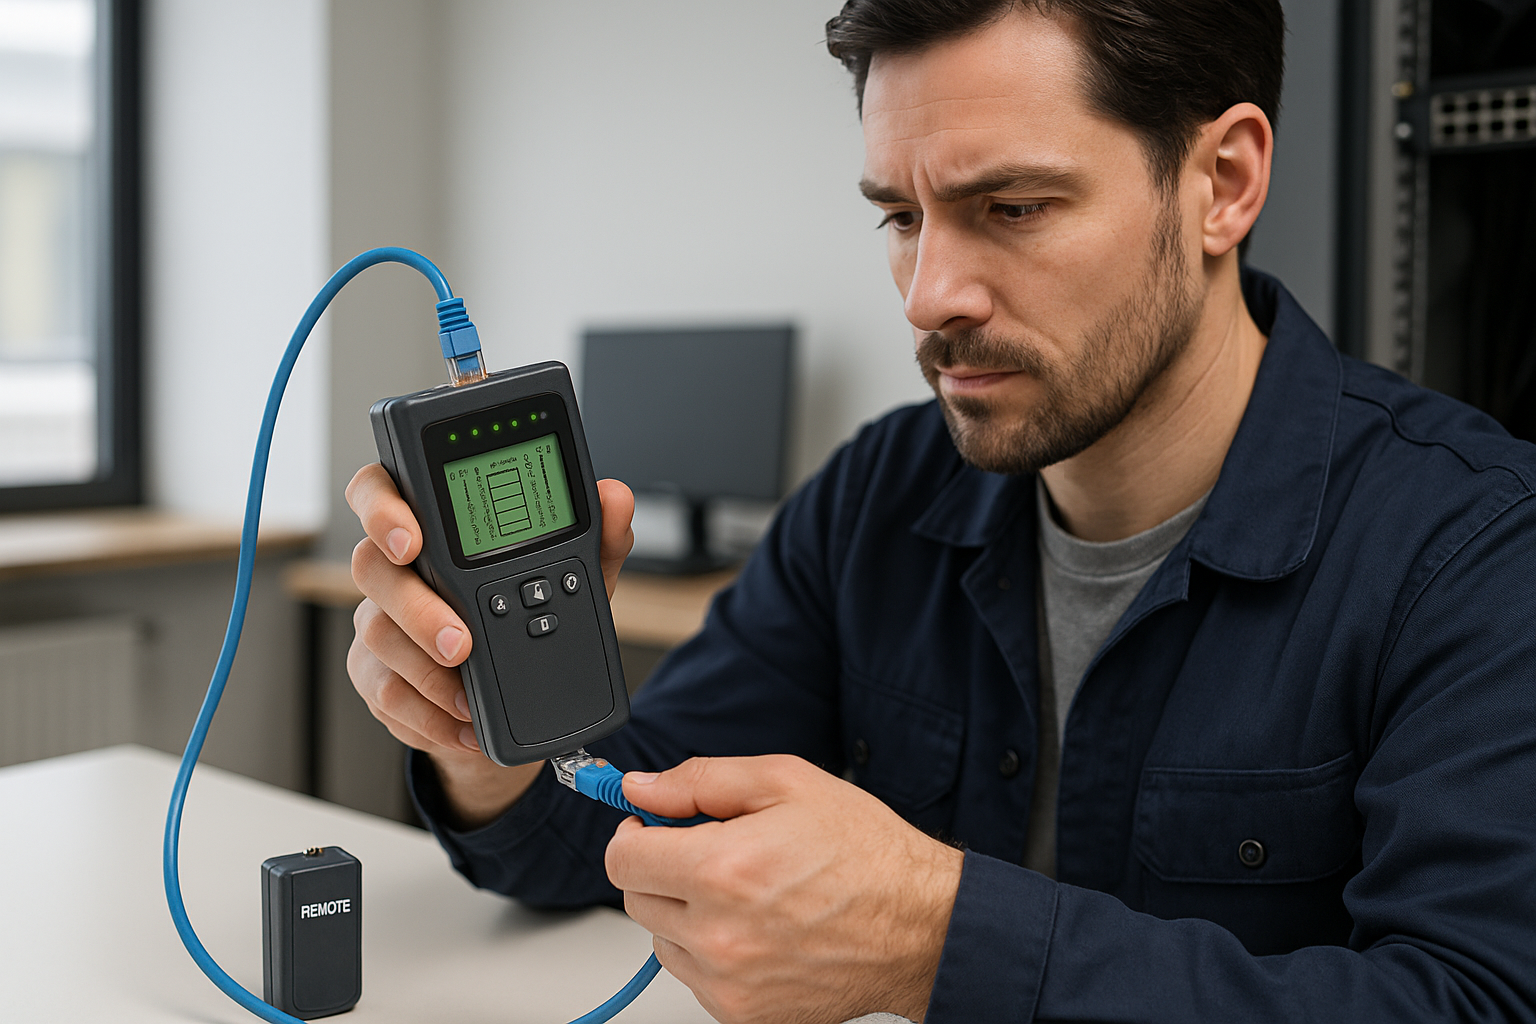
Step 7 Test the connections
Use a network cable tester to check that each connection is properly made. Also test the wall sockets or keystone connections on the other end of the cable.
With this step-by-step plan you will build a stable and clear network step by step.
What types of patch panels and cables are there?
Depending on your situation, you choose a specific type of patch panel and cable. Below we list the options.
Network cables
-
CAT5e is fine for standard home use
-
CAT6 is faster and better shielded
-
CAT6a and CAT7 are suitable for higher speeds up to 10 Gbps
-
CAT8 is used in data centers or for heavy networks
UTP or FTP
-
UTP is unfiltered and suitable when there are few sources of interference
-
FTP has additional shielding against interference from power cables or devices
Patch panels
There are panels with 8, 12, 24 or 48 ports. Some are suitable for wall mounting, others for placement in a 19 inch rack.
When choosing, also pay attention to keystone panels or LSA panels. Keystone panels work with separate modules, LSA panels are connected directly with pliers.
What are common mistakes when connecting?
Connecting a patch panel yourself usually works well, but some errors are often seen. Here are a few examples:
-
Not applying the color order correctly
-
Damage to veins during stripping
-
Securing cables without strain relief
-
Do not use a tester to check connections
-
Bending or over-tightening cables will cause the connection to deteriorate
Make sure you have good tools and work calmly. Then you can easily avoid these mistakes.
Frequently asked questions about connecting patch panels
Do I need a switch in addition to a patch panel?
Yes, the patch panel distributes the cables but the switch takes care of the network distribution.
Can I also use only wall sockets?
That is possible, but then you lose overview. With a patch panel you have a central place and it is easier to manage or extend cables.
How do I know if a cable is connected properly?
Use a simple network cable tester. This will quickly show you whether all the wires are making good contact.
What if I don't have a patch cabinet?
Then you can also place the patch panel on a mounting plate or directly on the wall. Pay attention to sufficient space for cables.
What is the difference between a keystone panel and an LSA panel?
With a keystone panel, you click separate connection modules into the panel. With an LSA panel, you connect the cables directly with LSA pliers. Keystone is more flexible, LSA is more compact and cheaper.
Useful tips and extras
Use a checklist
Work with a checklist of materials and steps so you don't forget anything. We'll be offering a printable version soon.
Wall mounting or patch cabinet
For small installations, wall mounting is fine. For larger networks or expandability, you are better off choosing a patch cabinet.
Test without expensive equipment
A basic cable tester is available from just a few tens of euros and prevents you from having to check everything afterwards.
Link directly to the right products
Make sure you have the right tools, cables and accessories at hand right away. This prevents delays during the connection.
Work neatly and organized
Use cable ties, label the cables and provide sufficient slack. This will help you keep track and prevent interference.
Getting started with your patch panel
With this explanation you can connect a patch panel yourself without surprises. Whether you want to cable your home more neatly or manage a server room, a well-connected patch panel makes your network clear and reliable. Check out our webshop for complete sets or individual parts and get started today.


Bekijk onze andere blogs
-
, by Jarno Heideman How do you easily set up a home network yourself?
-
, by Jarno Heideman What are the color codes of UTP cables and how do you use them correctly?
-
, by Jarno Heideman How do you test a UTP cable without making mistakes?
-
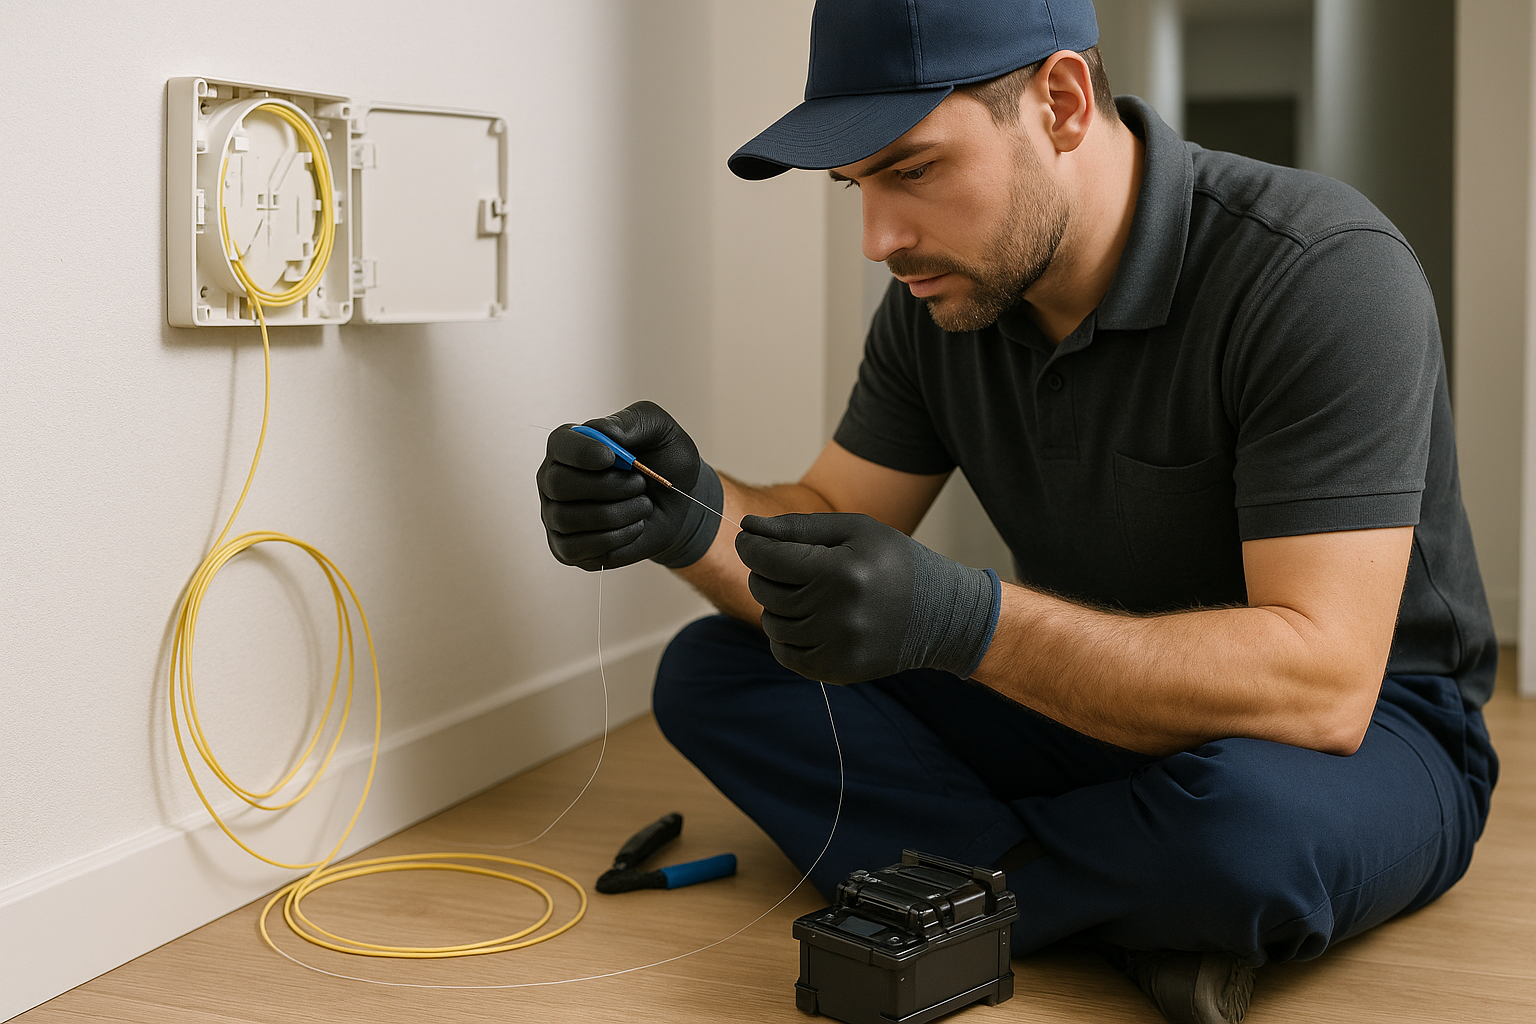
, by Jarno Heideman How do you connect fiber optic yourself without any hassle at home?


